CalDigit TS4 Thunderbolt 4 Dock Review
This is my second CalDigit product after the CalDigit Thunderbolt 3 mini Dock (DisplayPort).
My brother got me the CalDigit TS4 for my 38th birthday back in March 2022, but B&H Photo Video has it back-ordered till May 2022. I finally received it two days ago, on 27th May 2022.
Back in March 2022, my brother paid US$359.95 (S$495) for the CalDigit TS4 on B&H Photo Video. Shipping to Singapore is an additional US$27.45 (S$38) by DHL. Since it is more than S$400 in total, duties/tax are payable, and that is an extra US$30.87 (S$43).
So in total, it cost US$418.27 (S$576).
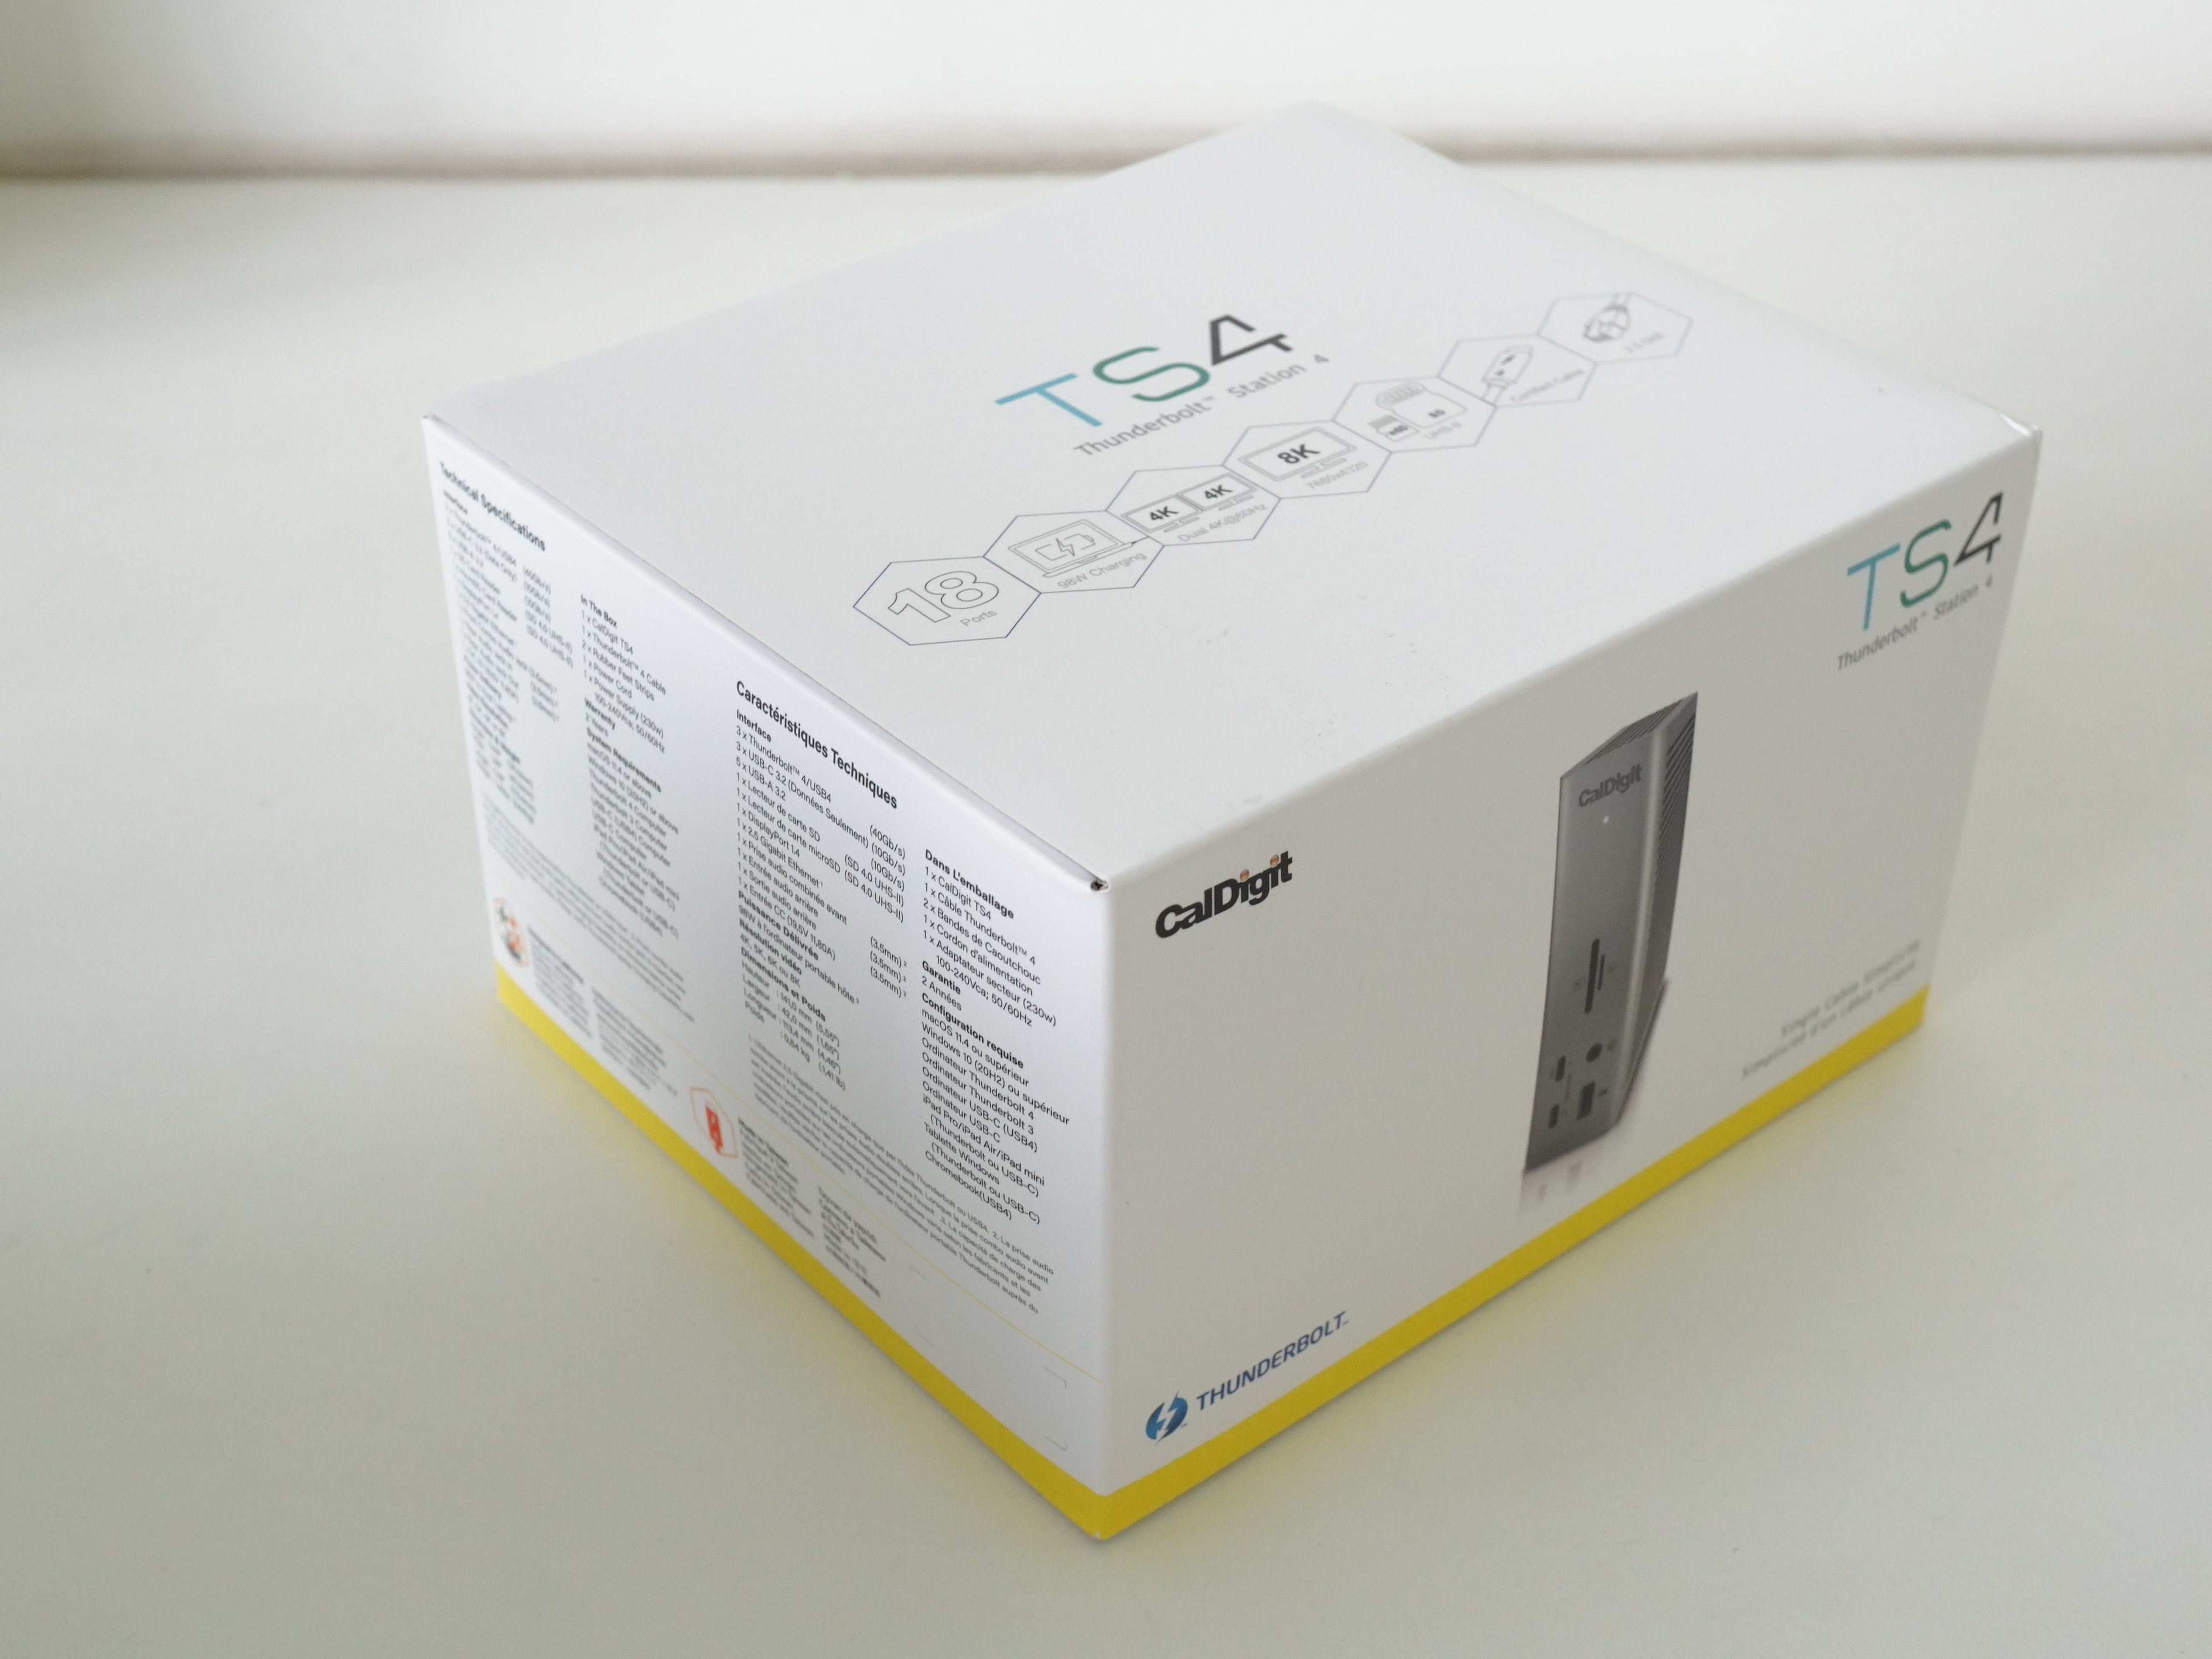
Because of chip shortages and the popularity of the CalDigit TS4, the CalDigit TS4 come and go very quickly. You can see the TS4 availability on CalDigit’s website.
CalDigit TS4 is a Thunderbolt 4 dock that gives you 18 ports of connectivity and provides up to 98W of charging to your laptop.


The power brick is expected to be huge because it powers many devices and gives your MacBook Pro up to 98W of charging.
The power brick takes in 100-240V, 3A, and outputs 19.5V, 11.8A.

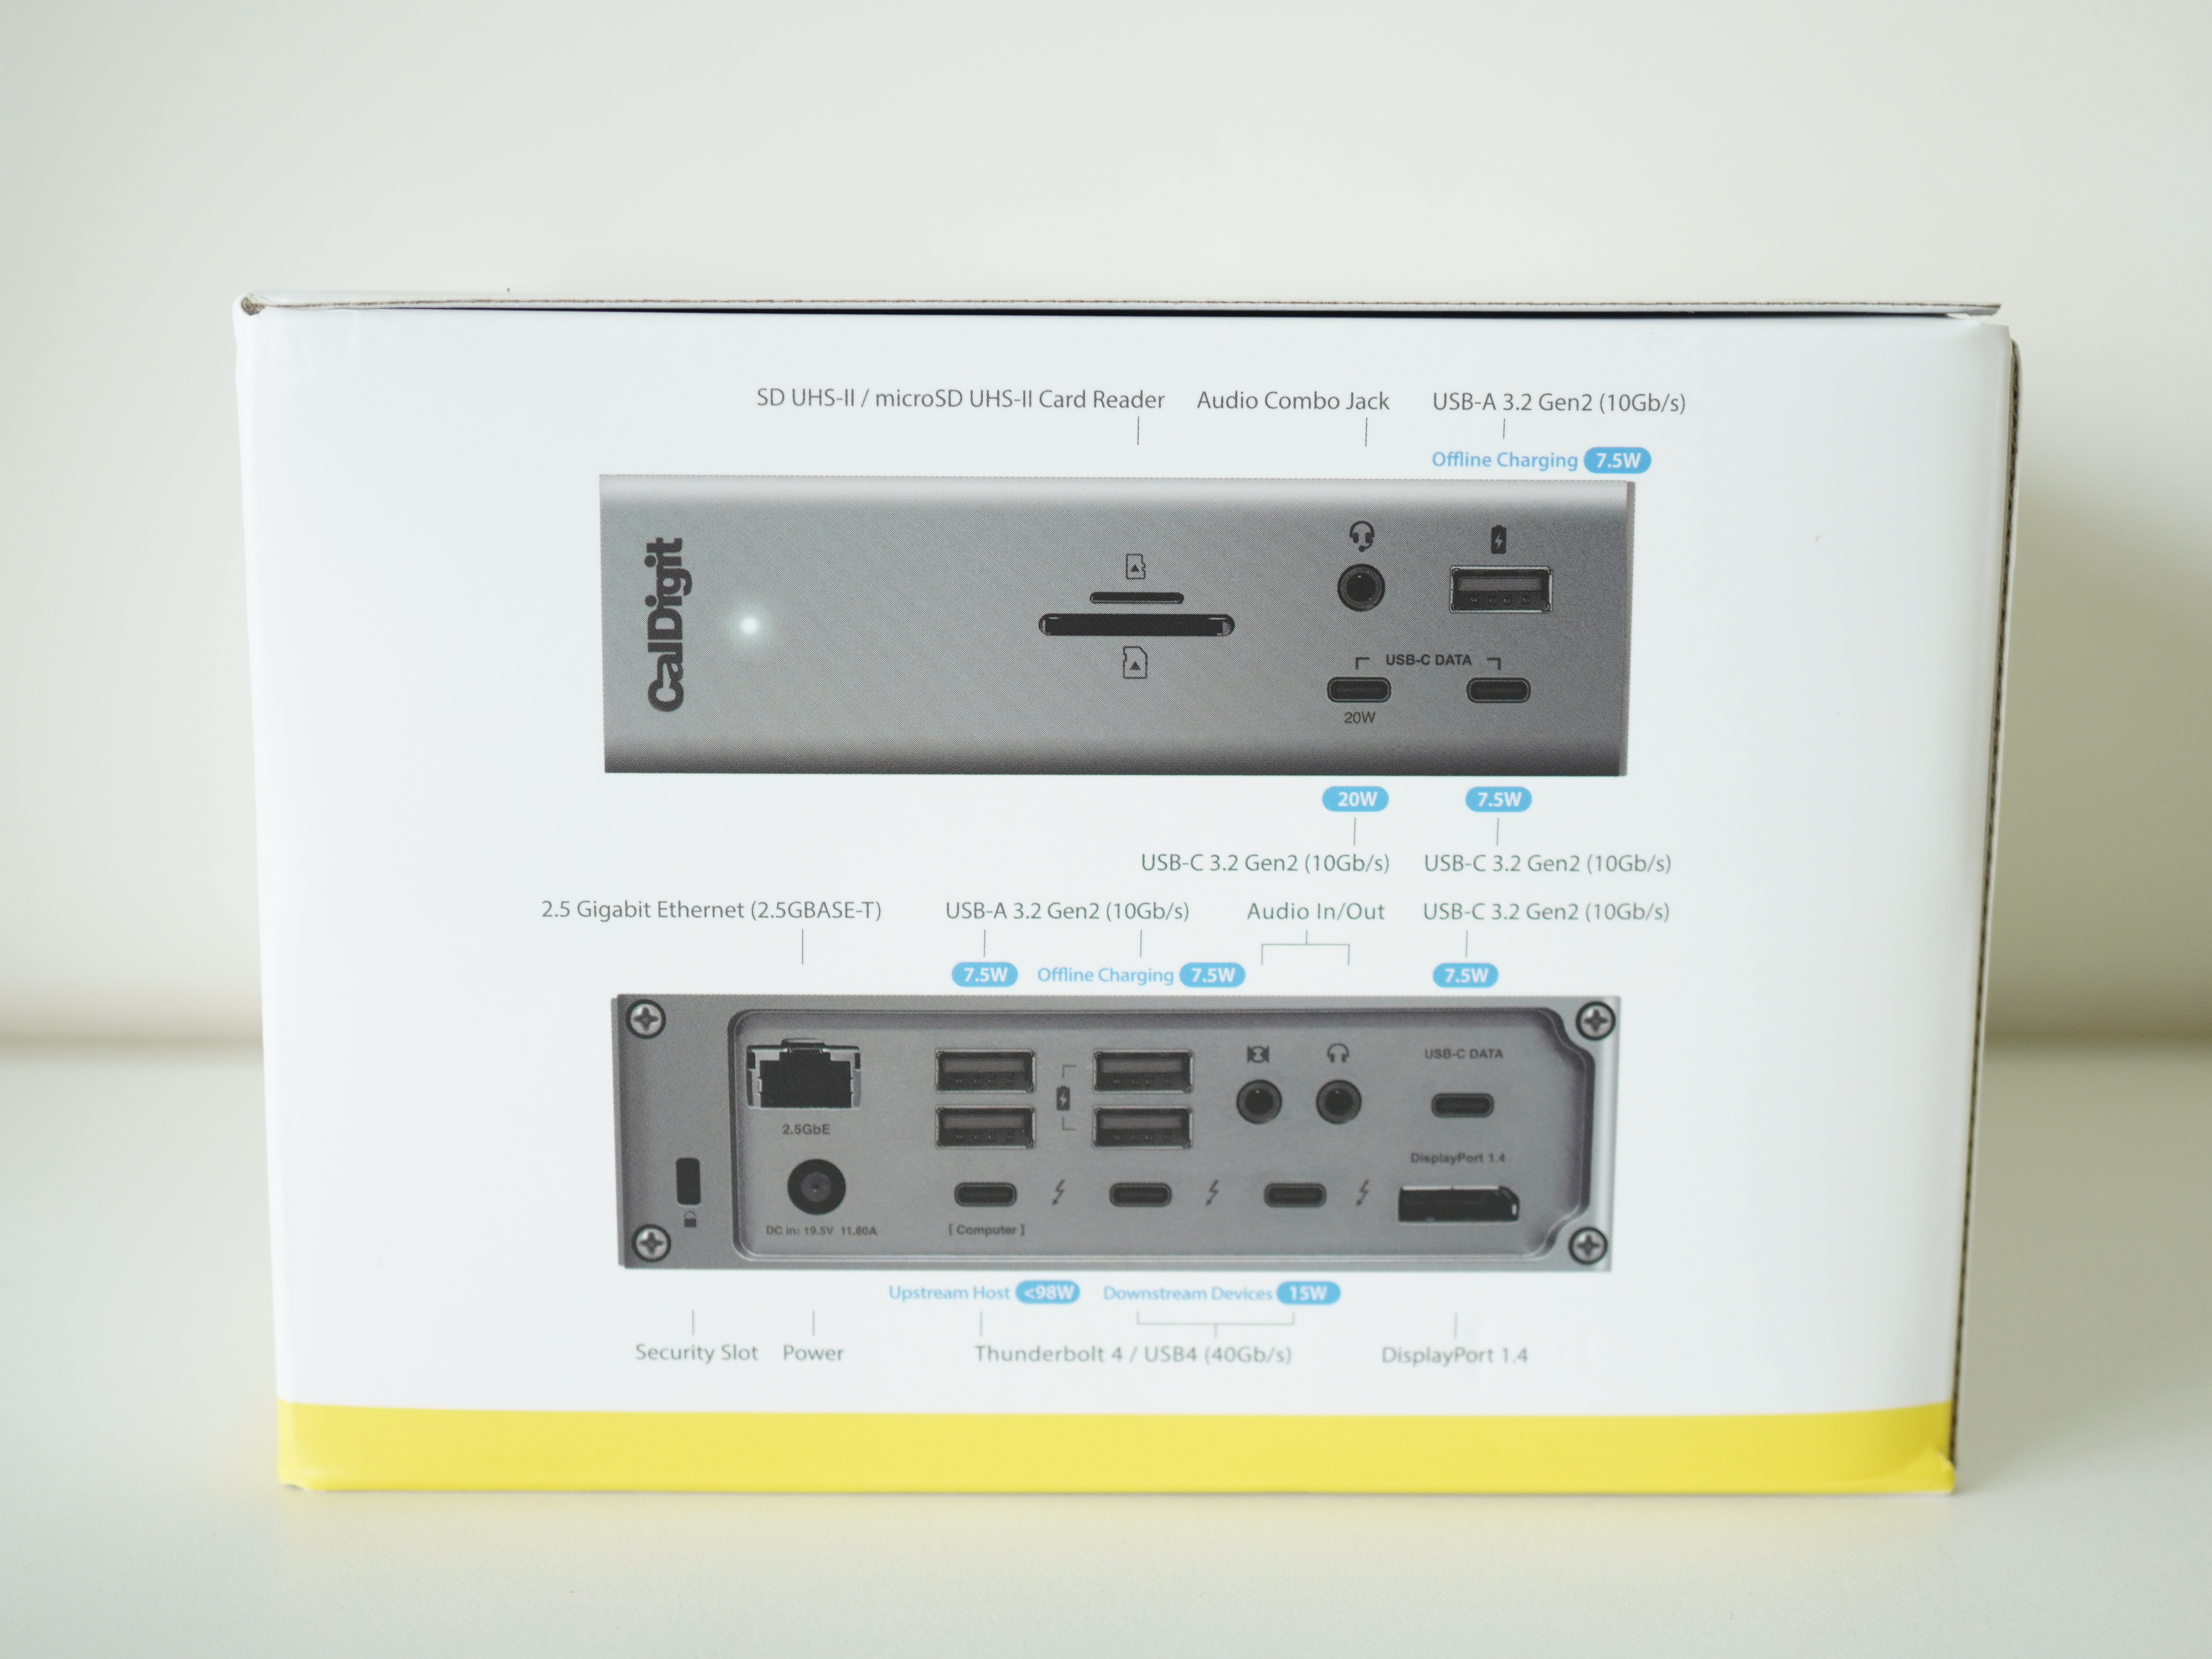
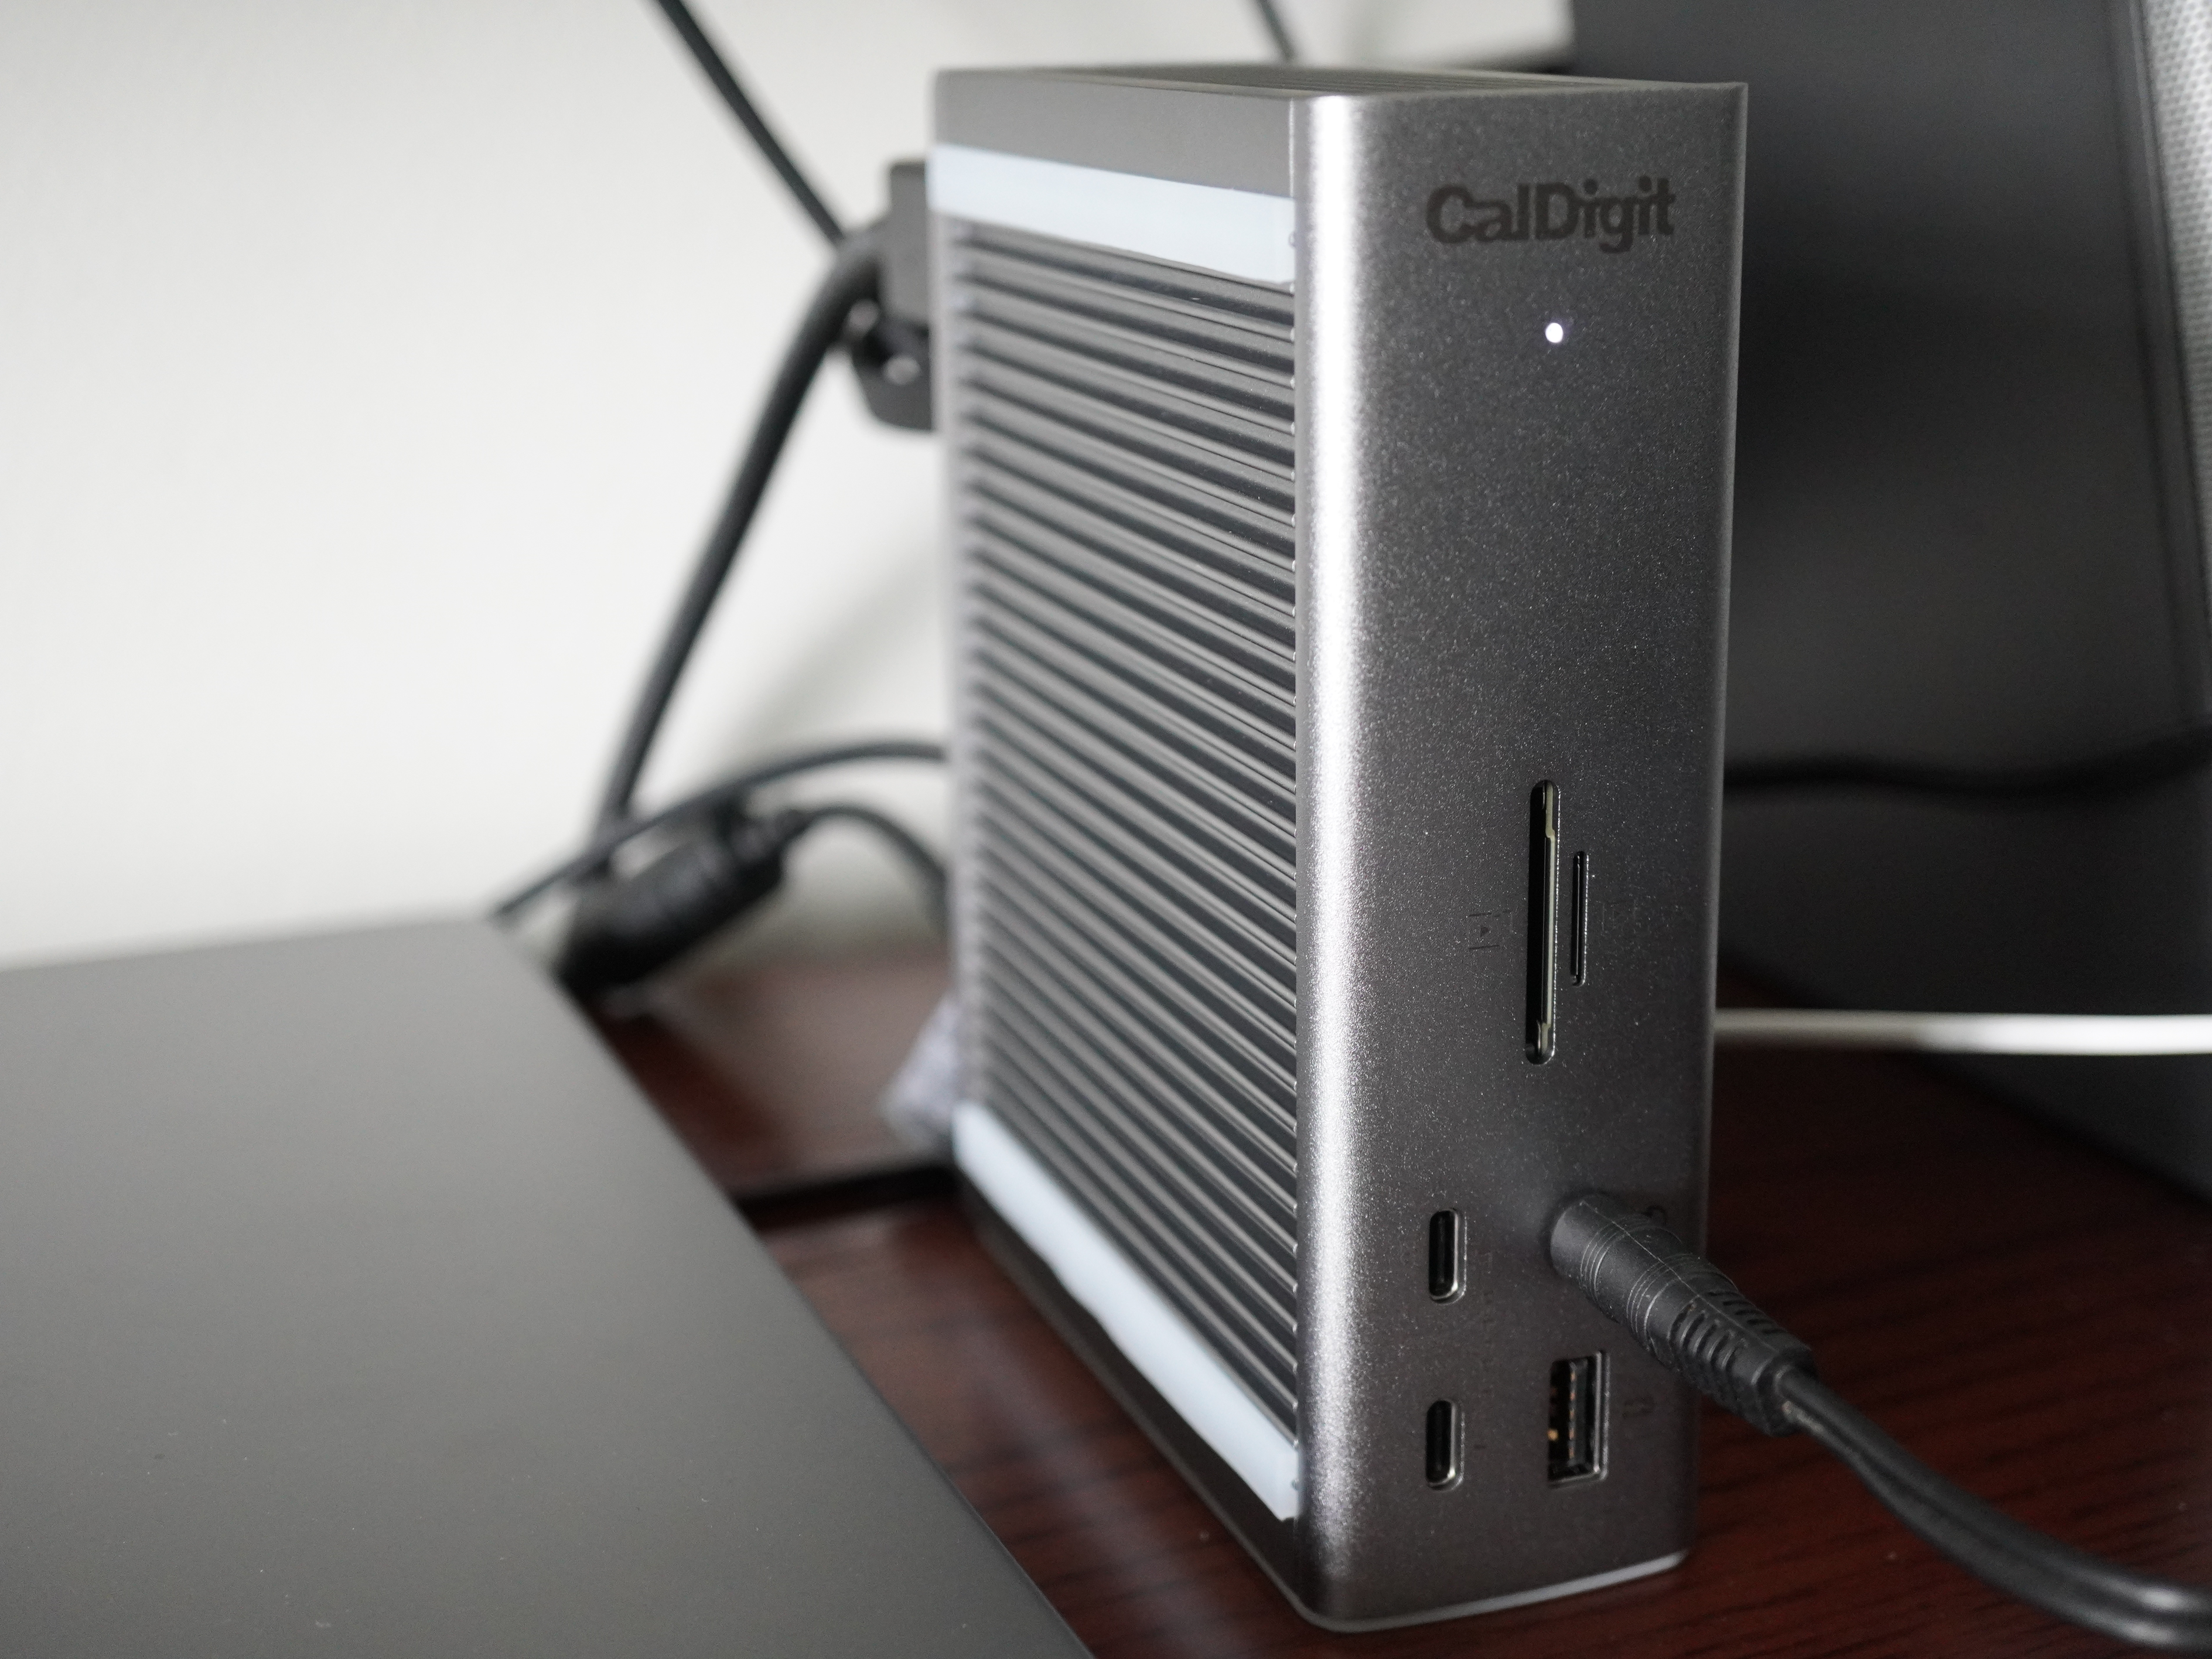
In front, there are six ports.
- 1x SD 4.0 (UHS-II)
- 1x microSD 4.0 (UHS-II)
- 1x Front Combo Audio In/Out (3.5mm)
- 1x USB-A (10Gb/s) (7.5W)
- 1x USB-C (10Gb/s) (20W)
- 1x USB-C (10Gb/s) (7.5W)

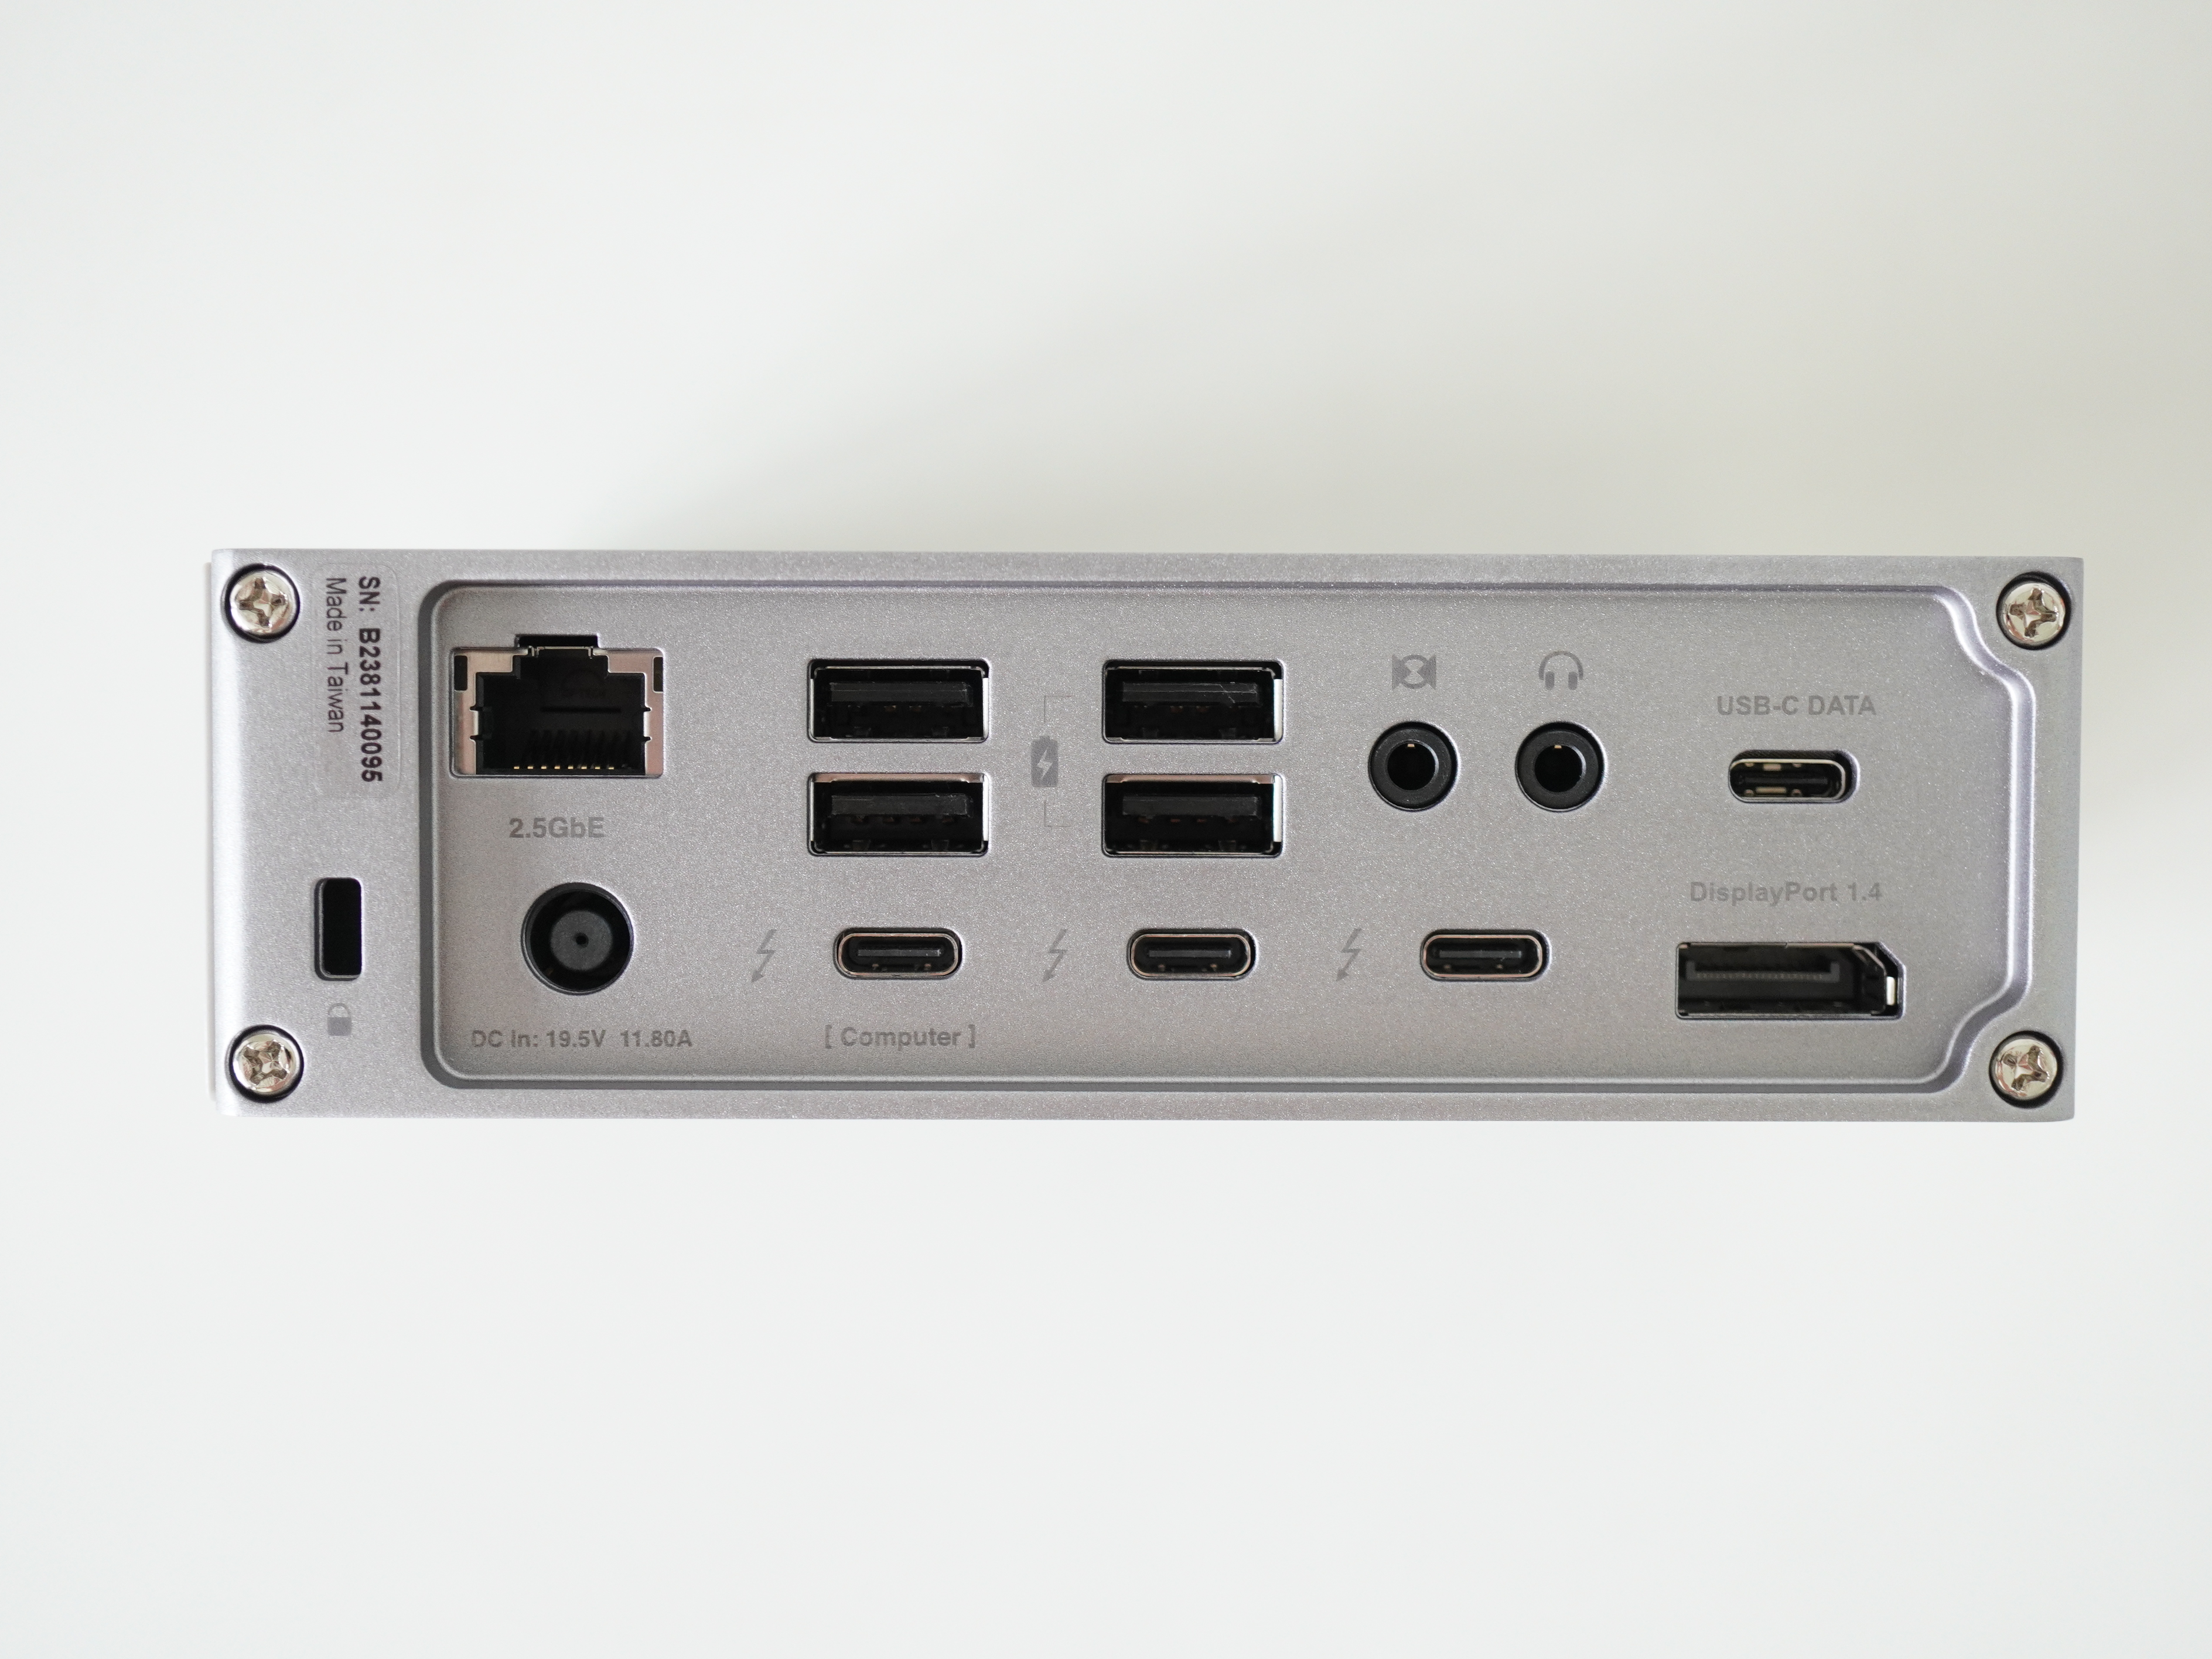
At the back, is the remaining 12 ports.
- 1x 2.5 Gigabit Ethernet
- 2x USB-A (10Gb/s) (7.5W)
- 2x USB-A (10Gb/s)
- 1x Rear Audio Out (3.5mm)
- 1x Rear Audio In (3.5mm)
- 1x USB-C (10Gb/s) (7.5W)
- 1x Thunderbolt 4 (Upstream) (40Gb/s) (98W)
- 2x Thunderbolt 4 (Downstream) (40Gb/s) (15W)
- 1x DisplayPort 1.4
We still have the power port and security slot at the back.
If you are placing it vertically, the bottom already comes with the rubber feet.

For both sides and the top, there is this slat metal design which I think helps in heat dissipation.
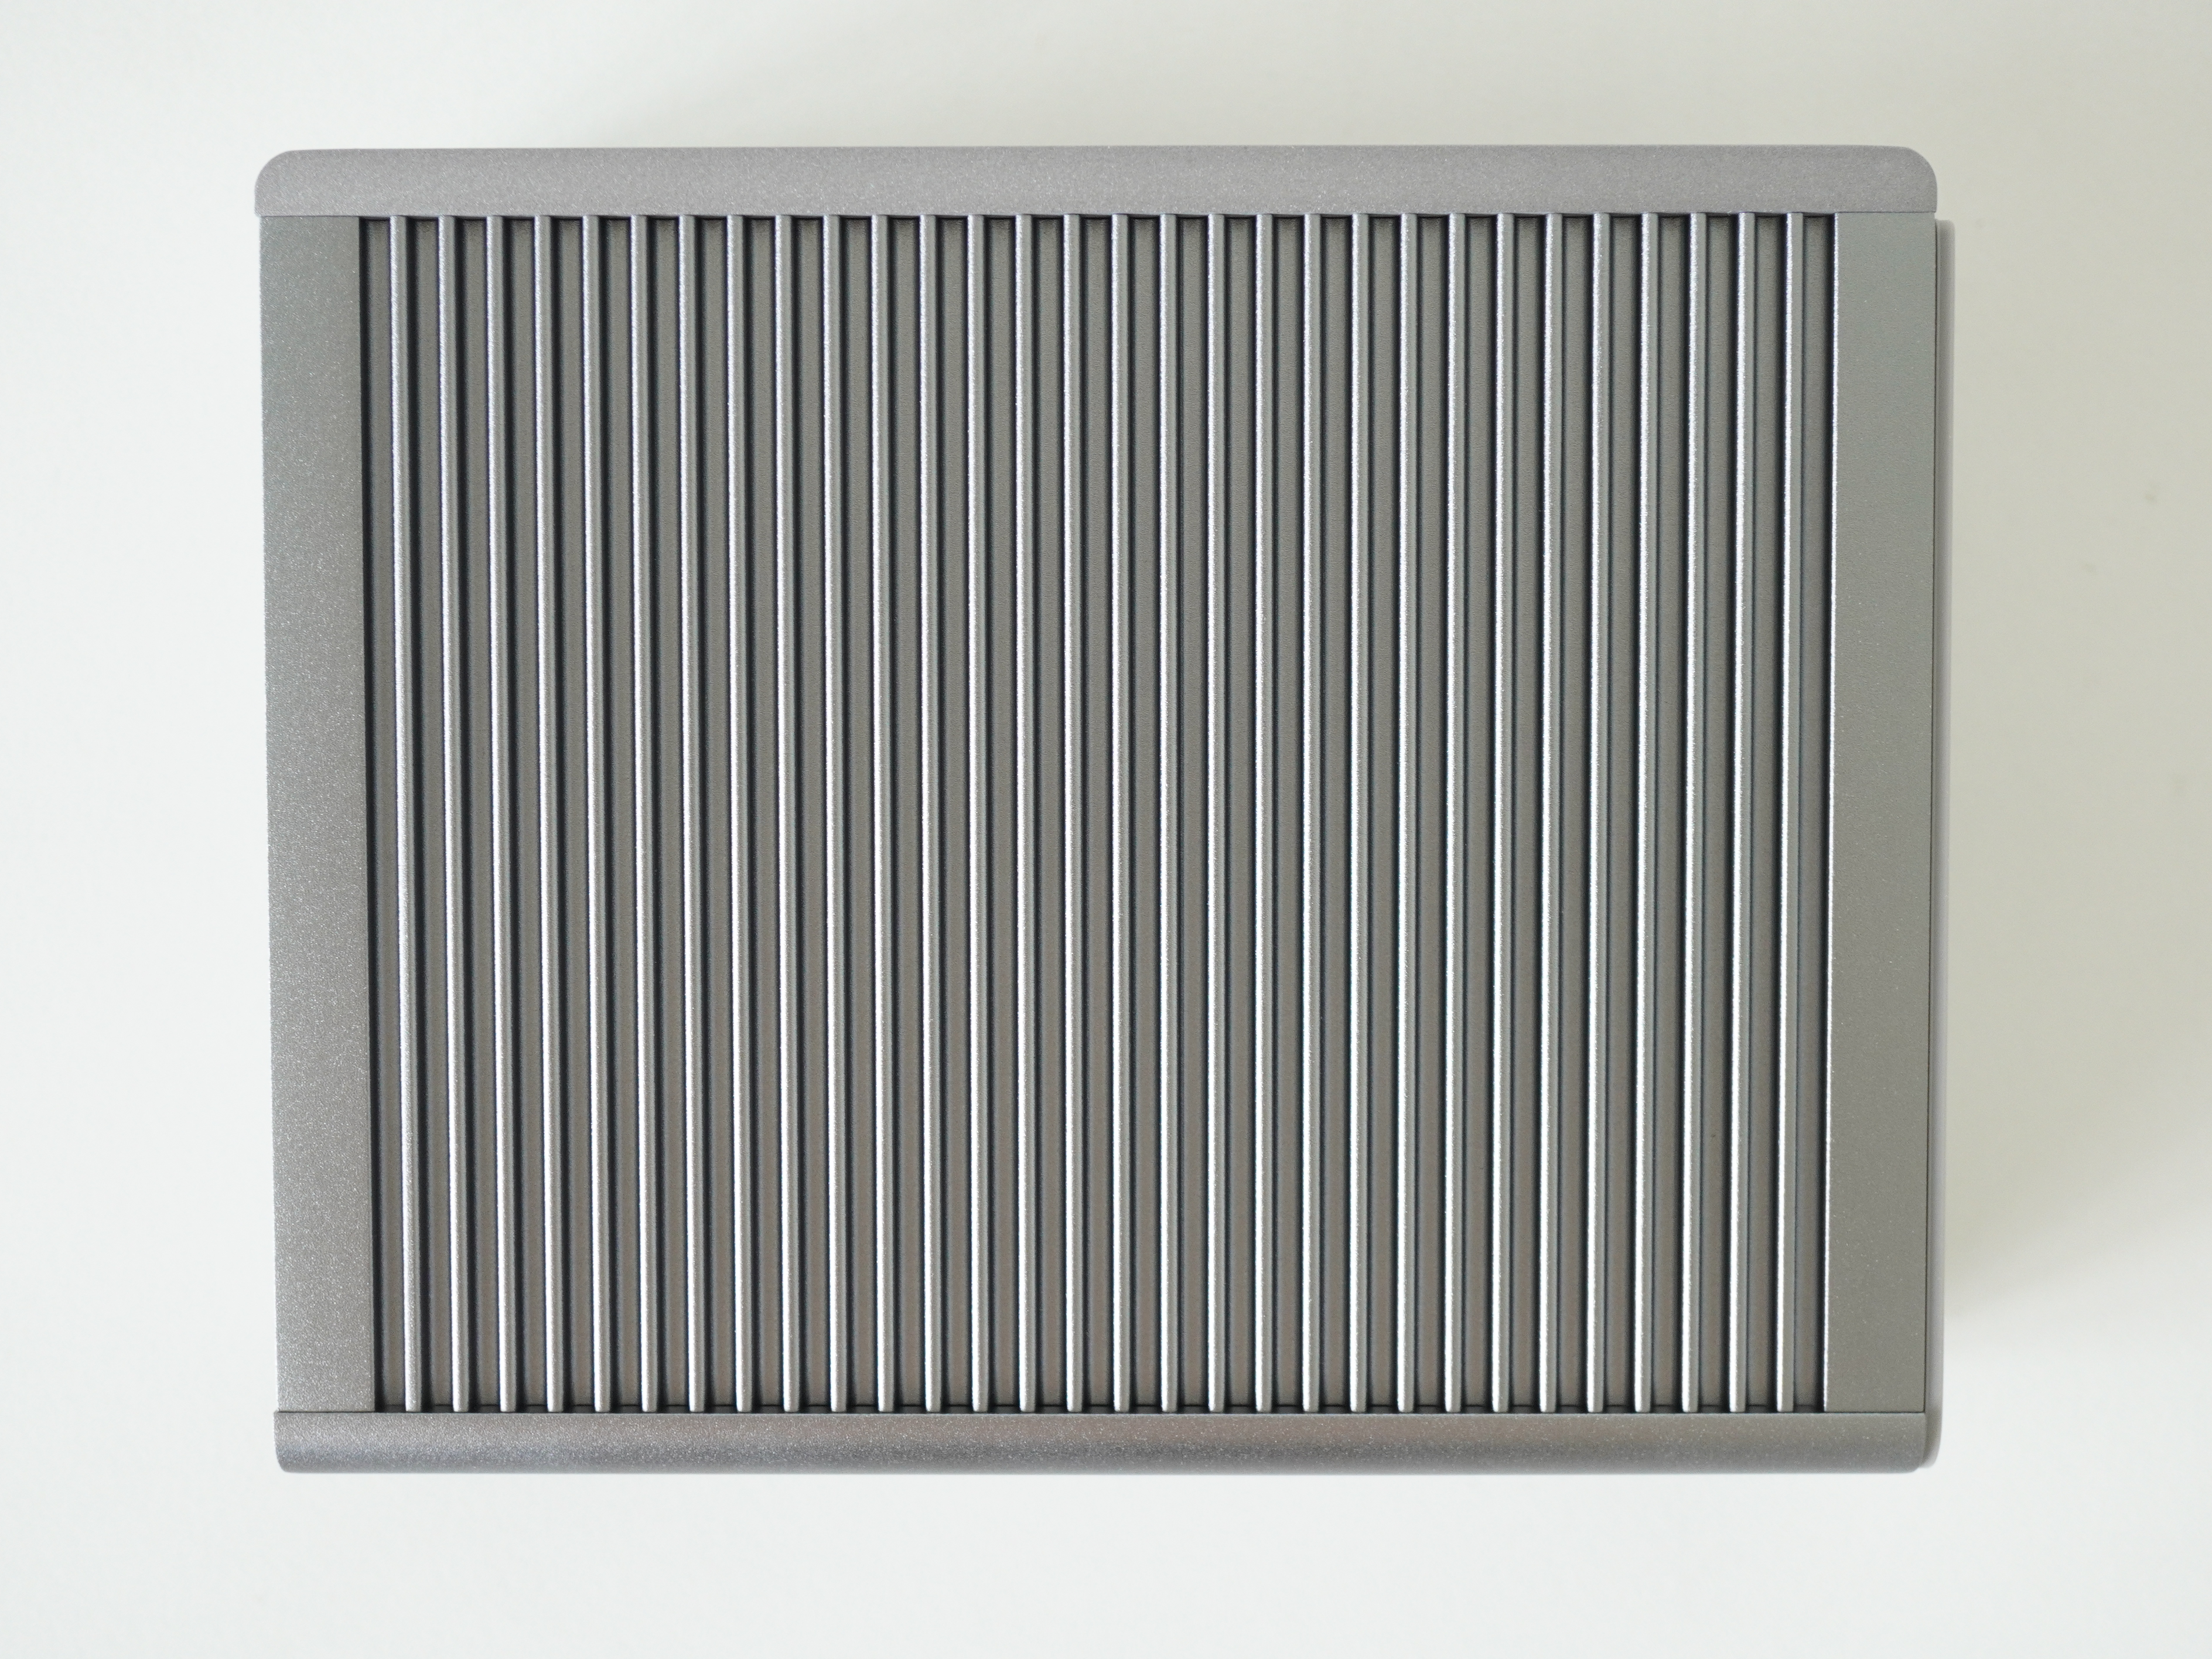
You can have the option of placing it horizontally or vertically. If you put it horizontally, remember to attach the two rubber feet, which are included in the packaging (not shown in the photo below).


The TS4 works out of the box without installing any drivers or software. The optional software to install is the Docking Station Utility which helps to instantly disconnect all of your connected external drives with one click.

I am not occupying all the ports yet. Just the DisplayPort, one USB-A port, one Thunderbolt 4 downstream port, and the Thunderbolt 4 upstream port connected to my computer.

DisplayLink works perfectly on the CalDigit TS4 by plugging it into the Thunderbolt 4 downstream port.
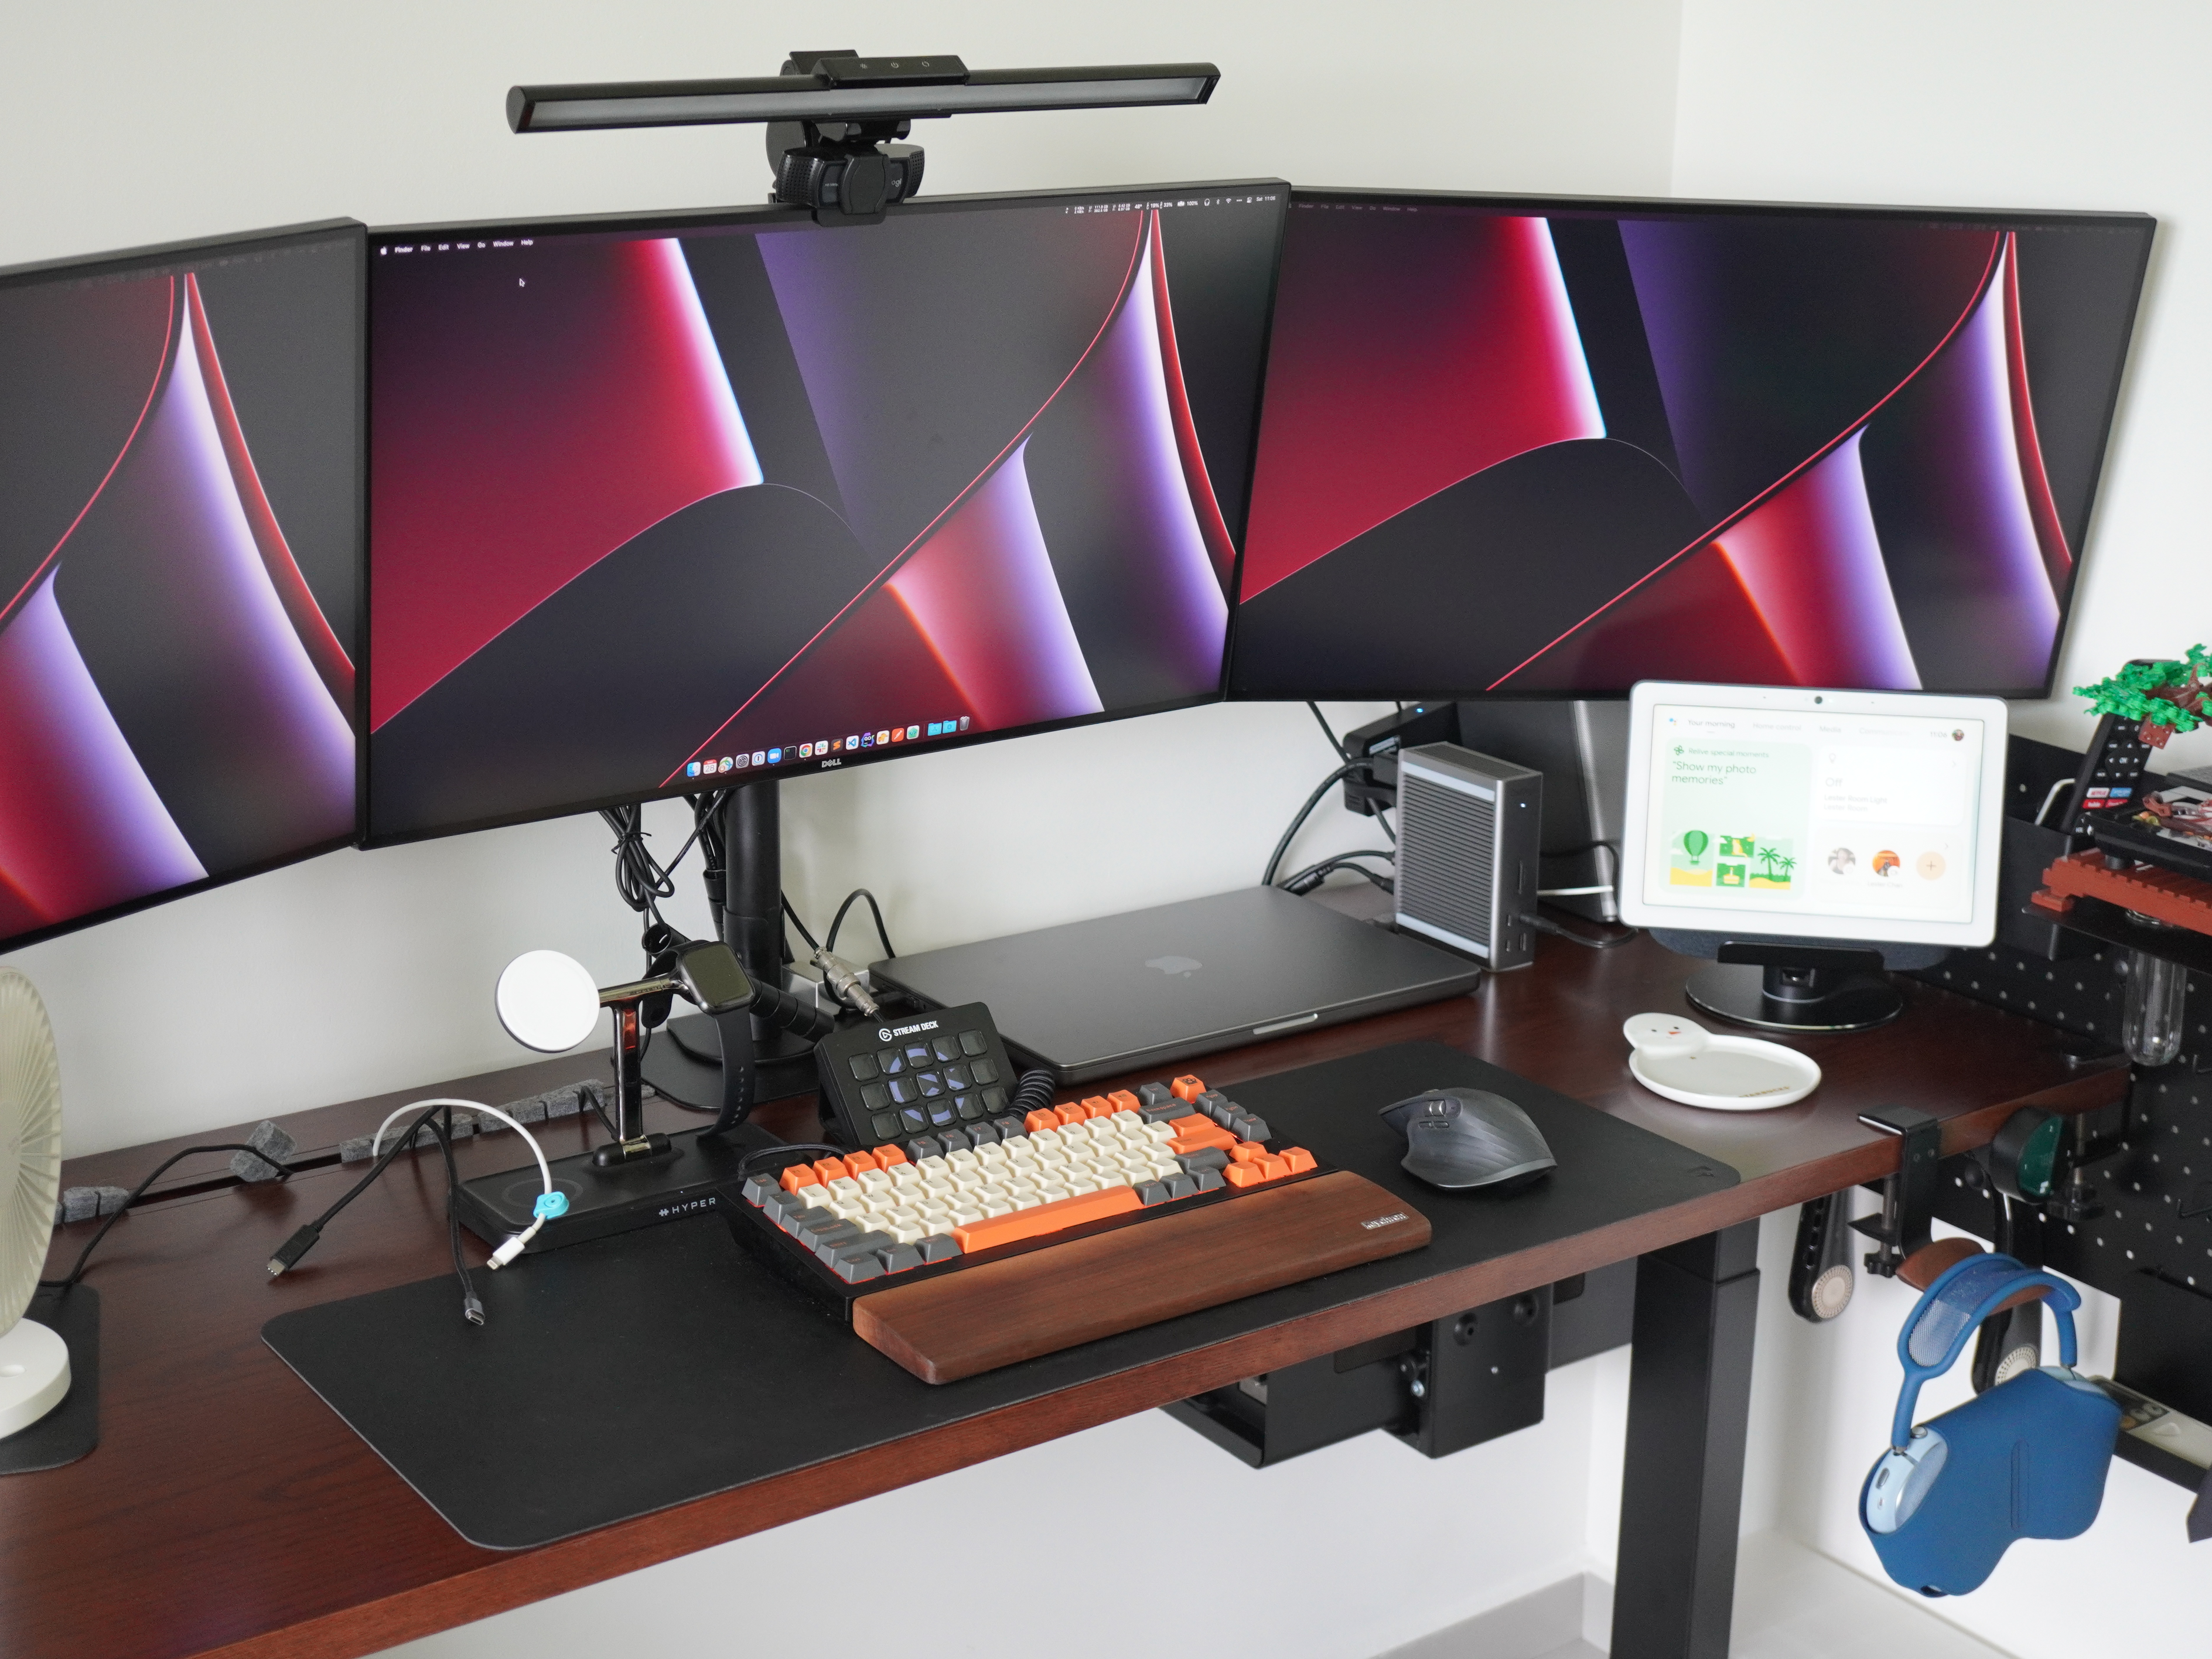
As you can see from the photo above, I am powering the following devices with just one Thunderbolt 4 connected from the CalDigit TS4 to my Apple MacBook Pro 16″ (M1 Pro).
- DisplayPort 1.4: Monitor #1
- Thunderbolt 4 (Downstream): Plugable DisplayLink 4K DisplayPort and HDMI Dual Monitor Adapter (Monitor #2 + Monitor #3)
- USB-A: Monitor Hub (Keychron Q1 Keyboard, Logitech MX 3 Mouse, Logitech C920 Pro HD Webcam, Elgato Stream Deck MK.2)
- Front Combo Audio In/Out (3.5mm): Bose Companion 2 Series II Speakers
- Thunderbolt 4 (Upstream):Apple MacBook Pro 16″ (M1 Pro)
If you need an all-in-one Thunderbolt 4 dock for your M1/M1 Pro/M1 Ultra MacBooks, I highly recommend getting the CalDigit TS4. You will not go wrong with it.
Also, if you need more monitors that M1 can support, pair it with Plugable DisplayLink 4K DisplayPort and HDMI Dual Monitor Adapter, and you can have triple monitors like my setup.