Linksys Velop Review
Linksys Velop is Linksys’s first wi-fi mesh system, and it was launched in Singapore on 12th April 2017. They are the second company to launch wi-fi mesh system in Singapore. The first being Netgear Orbi.
I have been using eero since January 2017 and eero is a wi-fi mesh system as well.
Wi-fi mesh system allows your home to truly share a single SSID regardless the size of your home. You can expand the wireless coverage by just increasing the number of nodes in your house. A typical three-node wi-fi mesh system can cover between 2,000sqft to 4,000sqft.
Since wi-fi mesh system is new to the market, they are not cheap. They typically come in 1-pack, 2-pack or 3-pack.
Linksys Velop retails their 1-pack for S$349, 2-pack for S$599 and 3-pack for S$749.
The pricing is almost the same as that of eero and Netgear Orbi.
I would recommend you to get the 3-pack because it is more value for money. Even if your house is smaller than 2,000sqft, you also need to take into consideration concrete walls, Internet port, and power point locations within your home. It is better to have more than fewer nodes.
Specifications
Velop has better specs than eero and Google Home.
Each Velop node is a Tri-Band AC 2×2 802.11ac Wave 2 with MU-MIMO Radio (2x 5.0 GHz and 1x 2.4 GHz). Theoretically, you can get a combined speed of 2,220Mbps. Whereas for eero and Google Home, they are only on dual-band without MU-MIMO.
Inside each Velop node is a 716MHz quad-core ARM Cortex-A7 processor with 512MB DDR3 RAM and 4GB flash memory. It has Bluetooth 4.0/LE which is mainly used for setup and two auto-sensing LAN/WAN Gigabit Ethernet ports.
There are six antennas and high powered amplifiers inside each Velop node.
Unboxing
The packaging contents is pretty simple:
- 3x Velop Nodes
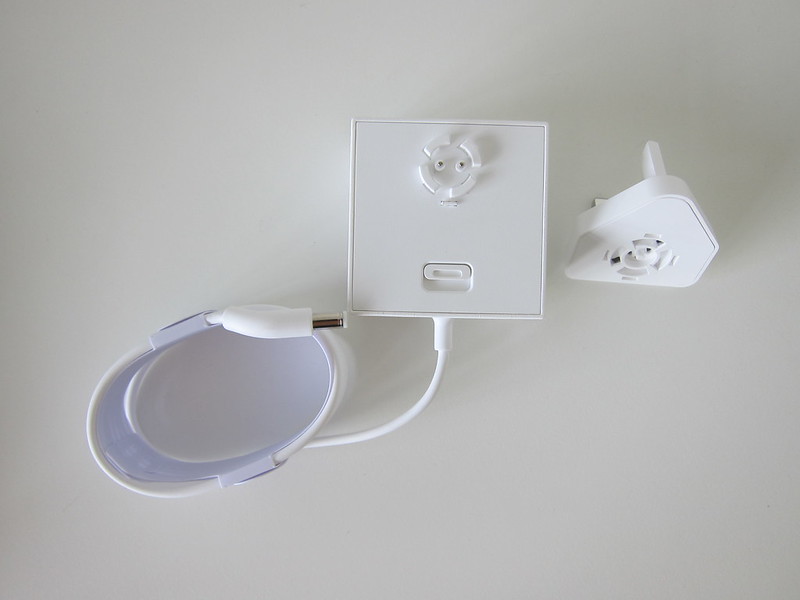
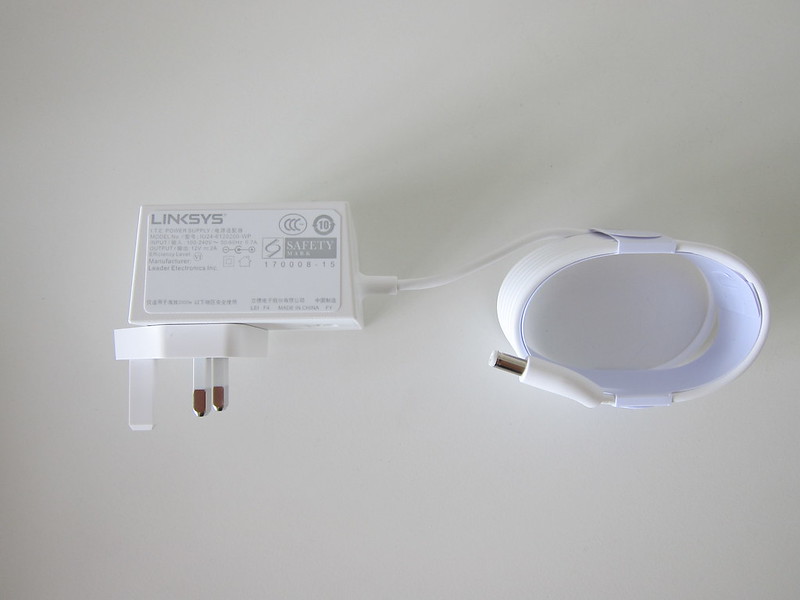
- 3x Power Adapter with UK Plug
- 1x Ethernet Cable
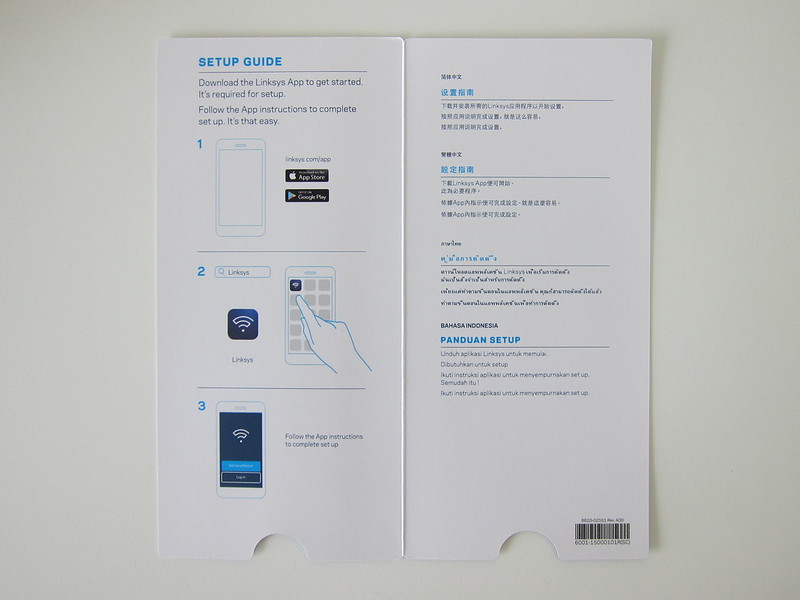
- Quick Start Guide
- Velop Sticker
- Warranty Information
- Documentation Mini CD
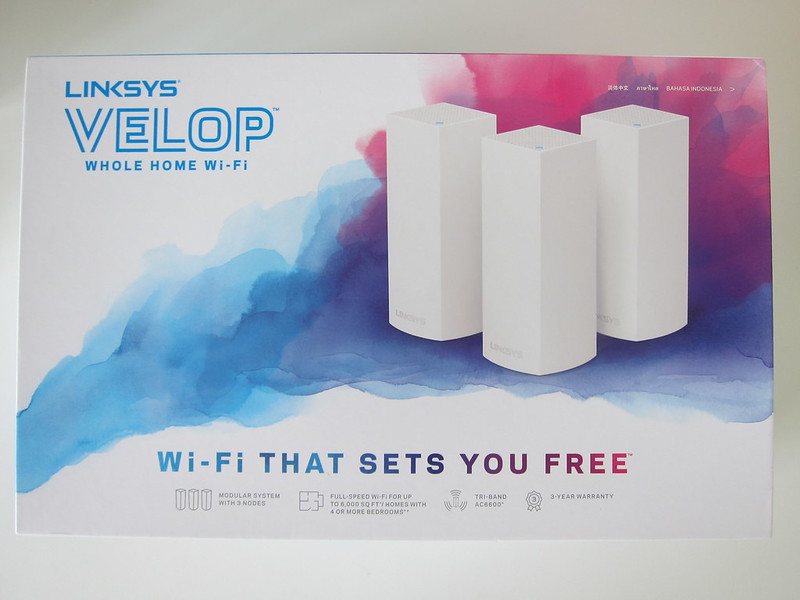
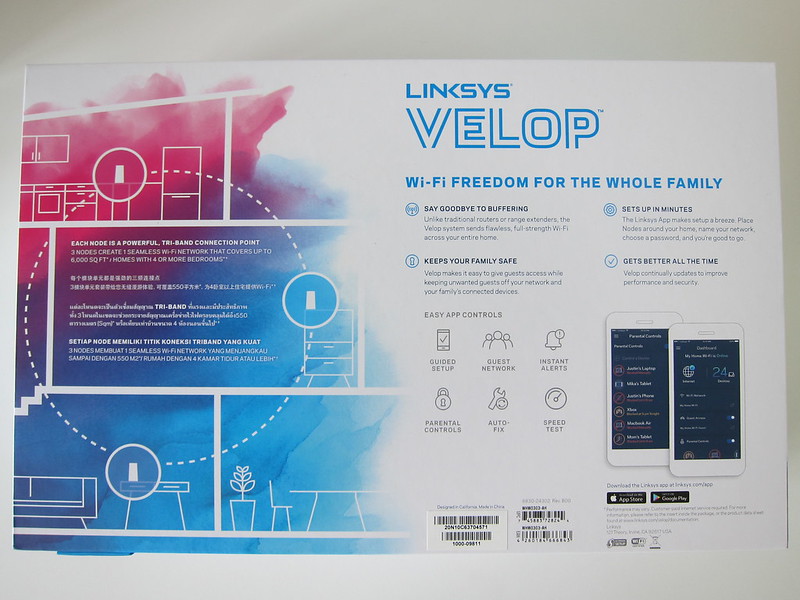

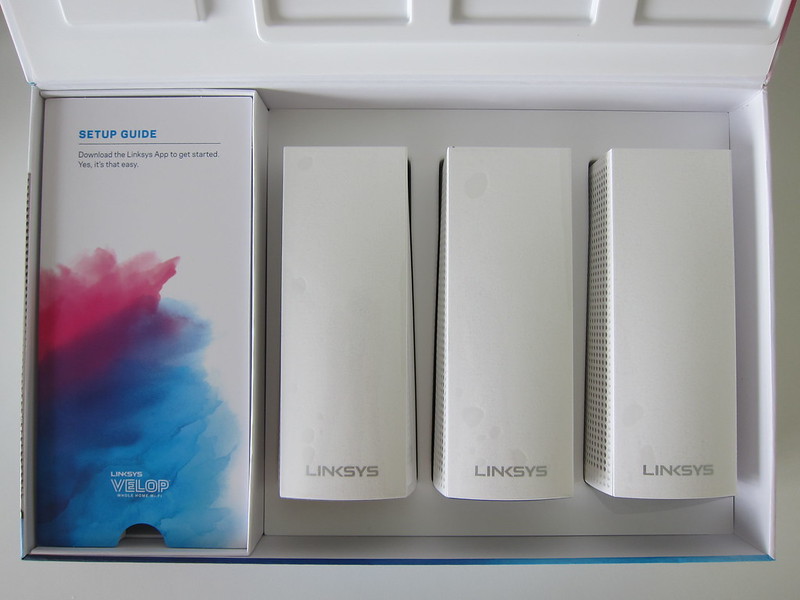
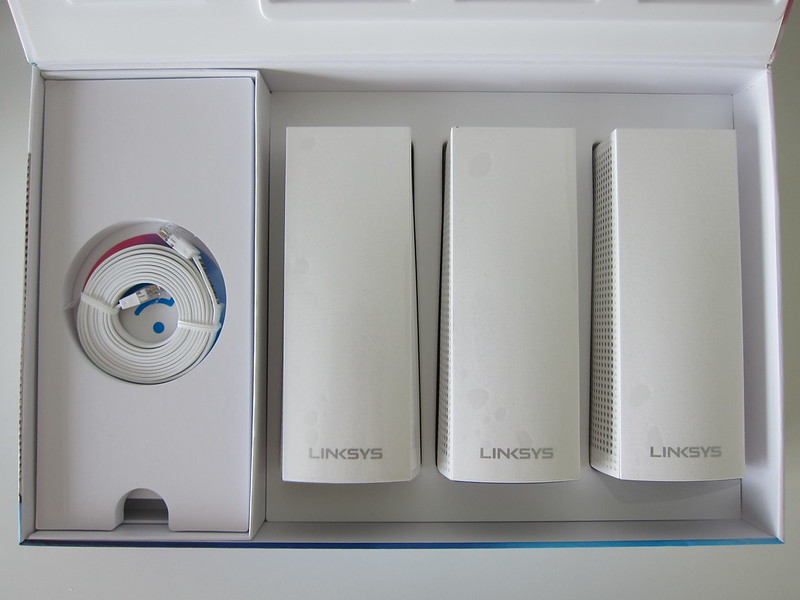
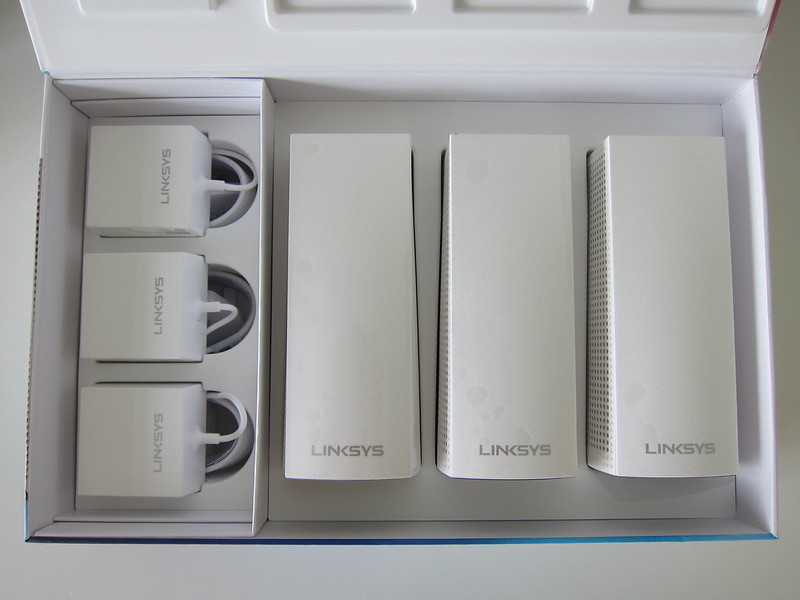
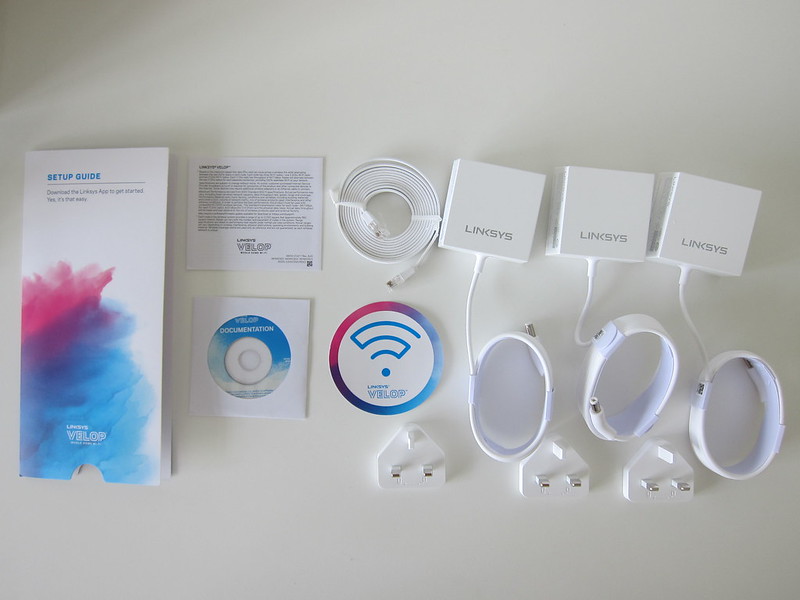
There is even a mini-CD inside.
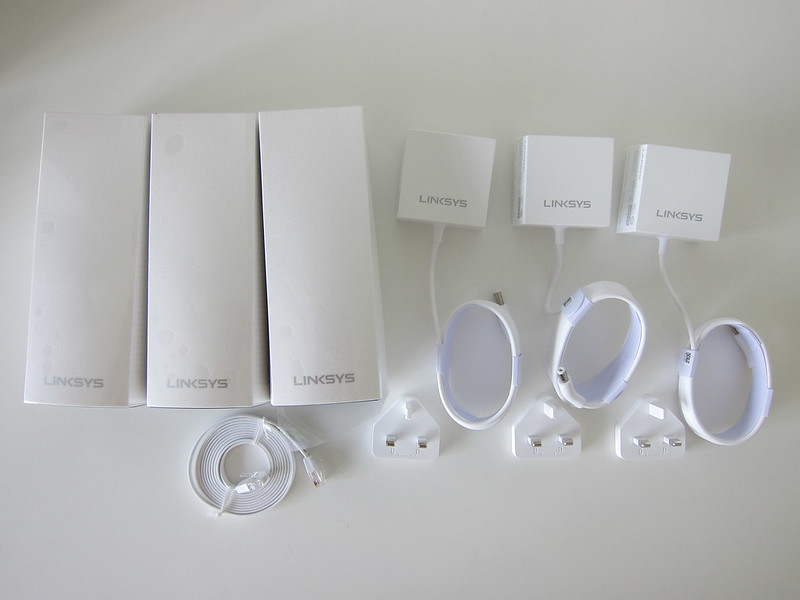
They should have included three Ethernet cables instead of just one. Each node should have an ethernet cable of its own.
Design
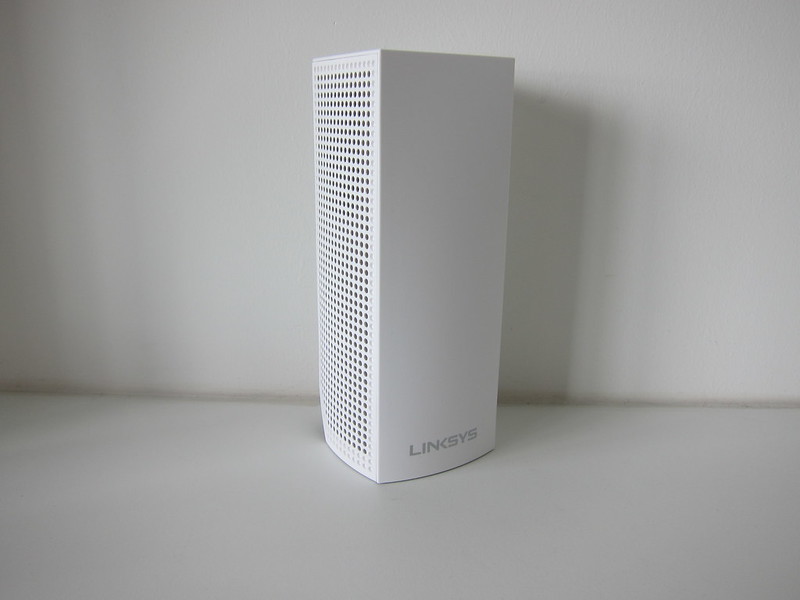
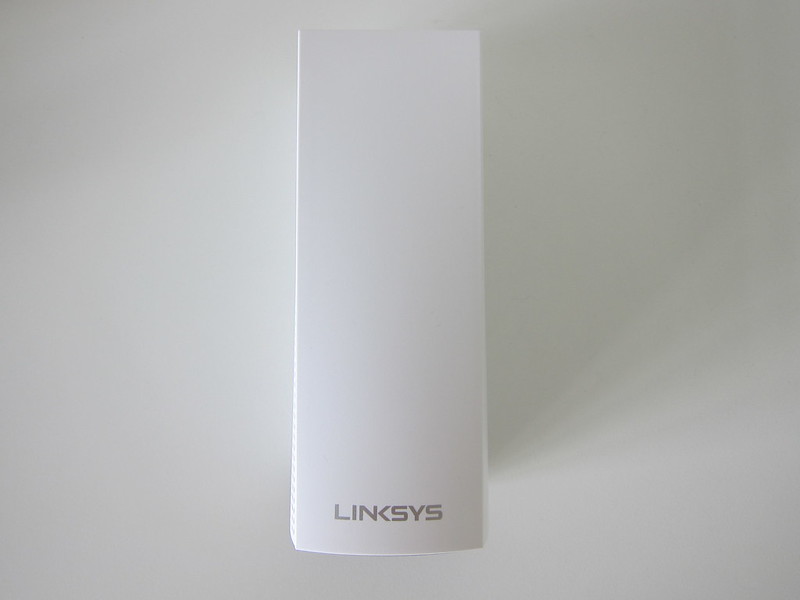
Linksys opted to make the Velop tall (19cm) with a square base (8cm x 8cm).
Accordingly, to Linksys, the vertical design brings about performance benefits. The six antennas are placed at the top and middle of the node. The placement allows some signals to be pushed up and down while others left and right.
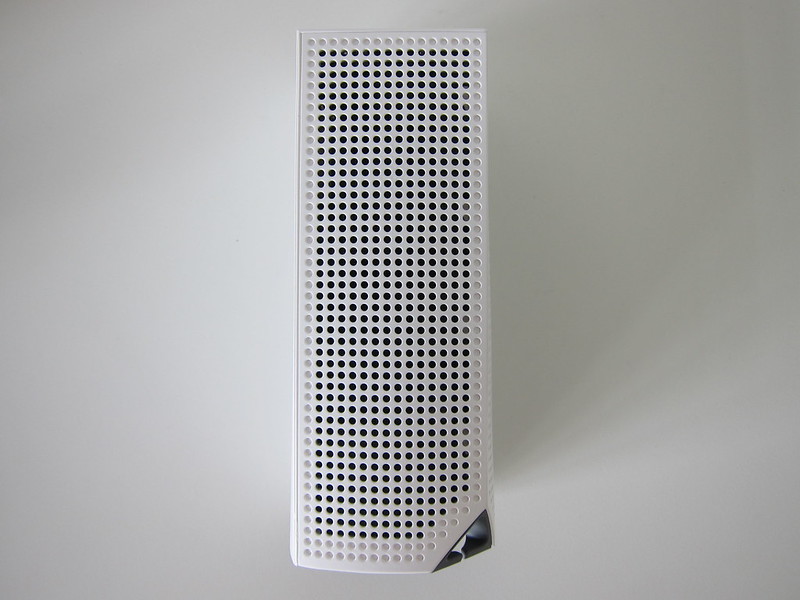
There are ventilation holes on two of the back panels and at the top which gives it better cooling.
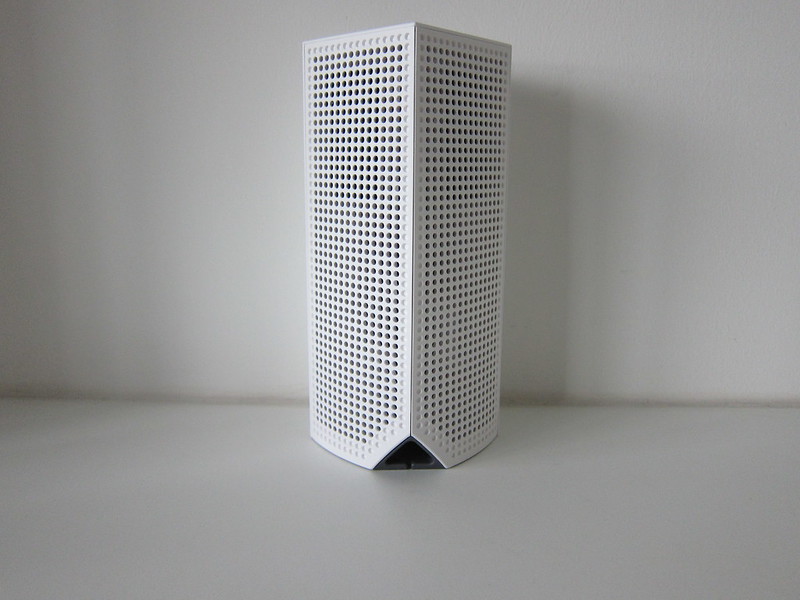
I don’t find the Velop hot. In fact, it is cooler than my eero because my eero which doesn’t have ventilation holes.
There is only one light indicator on the Velop which is at the top.
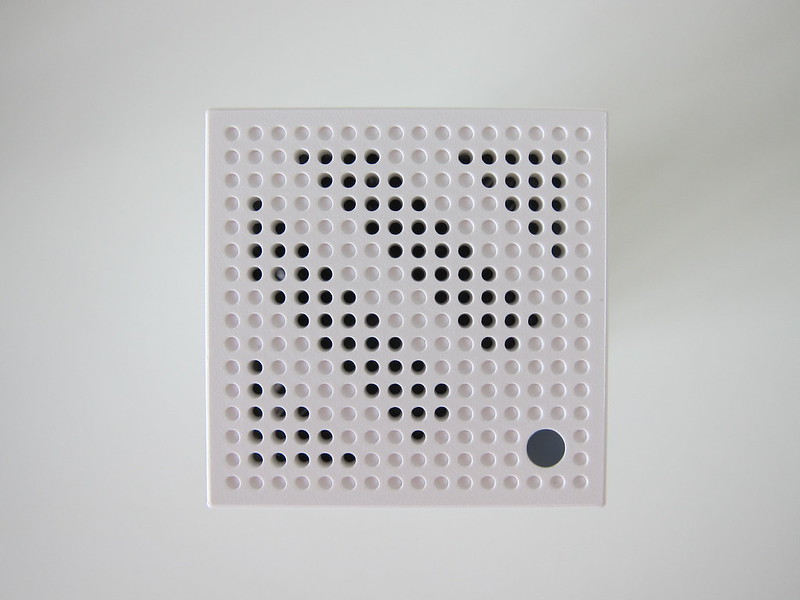
There are four possible colors to it: blue, purple, red or yellow.
- Blinking blue – Node is starting up
- Solid blue – Node is working great
- Blinking purple – Node is paired with phone for setup
- Solid purple – Node is ready for setup
- Blinking red – Node has lost connection to primary node
- Solid red – Node has lost connection to the Internet
- Solid yellow – Node is too far from another node connected to your Velop system
At the bottom consists of only five items. Two auto-sensing LAN/WAN Gigabit Ethernet ports, one power switch, one reset button and one power port.
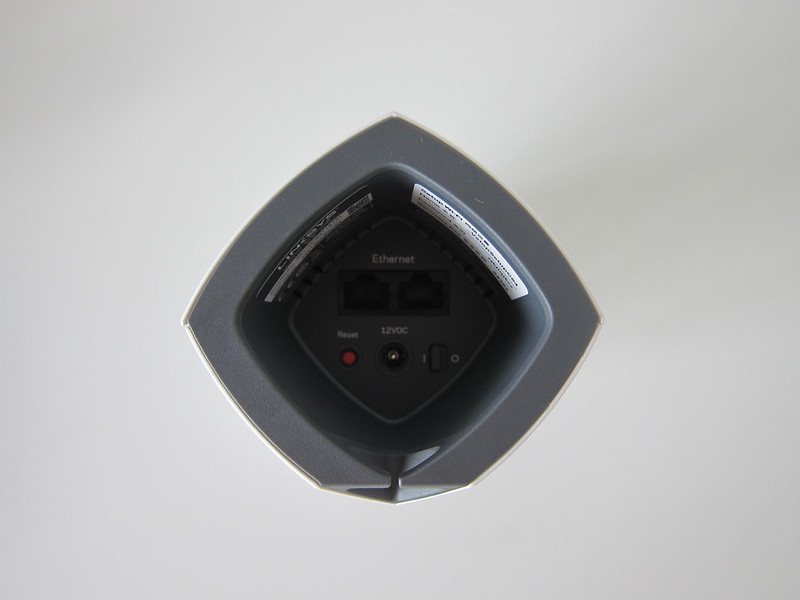
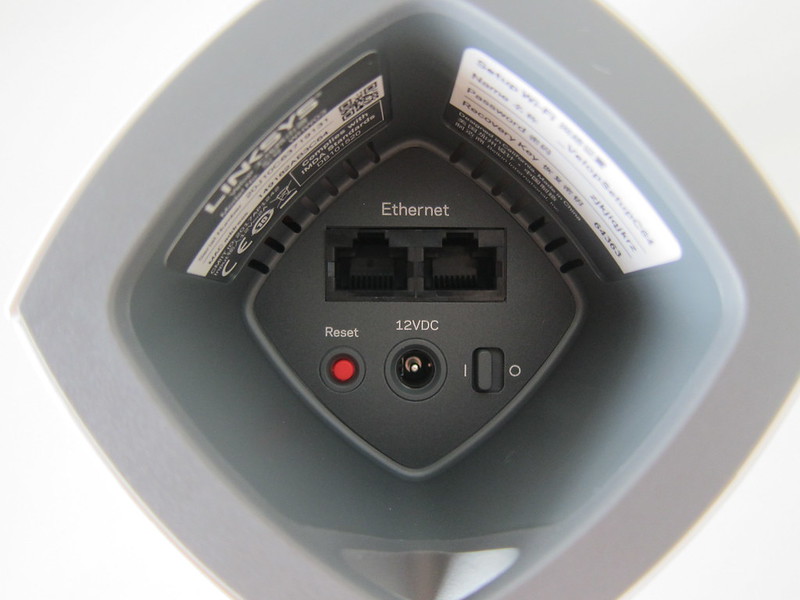
Each node is built to connect with each other over wi-fi or wired ethernet. I would always recommend you connect it via wired ethernet as much as possible because of better speeds.
If you are using one of the Ethernet port to connect to other nodes within your network, you can use the other ethernet port for LAN connection. Velop will automatically detect the connection on the Ethernet port and assign accordingly.
Bridge Mode
Before we go into setup, I need to emphasize that Velop DOES NOT support Bridge Mode. This means that you have to replace your existing router with Velop and let Velop control your network.
eero, on the other hand, supports Bridge Mode, and hence I can use my existing Asus router to control my network while the eero just focuses on wireless access.
There are many reasons why Bridge Mode is better for semi-advanced users. For a start, your router is more powerful than a node.
If you have LAN devices at home, your bottleneck will be the single Gigabit of your node as compared to eight Gigabit Ethernet ports found in high-end routers.
VLAN tagging is not supported in Velop. However, if you are using Bridge Mode, you can use the VLAN tagging feature in your router instead.
Probably the most important reason is that using bridge mode you can control your network using a browser. For most wi-fi mesh systems, you have to use an app to manage your network which is very cumbersome.
Rest assured Linksys heard us and Bridge Mode support for Velop would be coming soon in Q3 2017.
Setup
To begin Velop setup, you have to use either the Linksys iOS app or Linksys Android app. There is no browser based setup.
The setup process is very similar to eero. It requires your phone’s Bluetooth connection to connect to the Velop to start the process.
Because the app maintains a Bluetooth connection to Velop, it does not force the user to exit the app, reconnect or change wi-fi settings on the mobile device
Even if your Velop is restarting, your phone is still able to maintain the connection, and hence the app knows exactly which part of the setup process you are in at any given time.
I love the setup screens, the instructions are clear, and the visual animations on the screen is a nice touch.
For some weird reason, I can’t use my iPhone 7 Plus to set up the Velop. It always got stuck at “looking for your node” screen. Tried restarting my phone, toggling my Bluetooth connection, and it still doesn’t go past that screen. I even tried another node, and the same thing happens. It was a frustrating start.
I guess it might be due to a Bluetooth issue with my phone, but I have no problems connecting to other Bluetooth devices (even my door lock). It is weird.
I decided to try using an Android phone which is my HTC U Ultra. It works all the way till saving my network settings where it keeps saying that it failed to save my wi-fi settings. I have to repeat the saving process many times for it to work.
After getting past the wi-fi settings screen, it asks me to indicate where this node is located. Again, I have the same problem saving this setting, and I have to repeat the saving process many times.
Finally, the setup is done. A frustrating process for me.
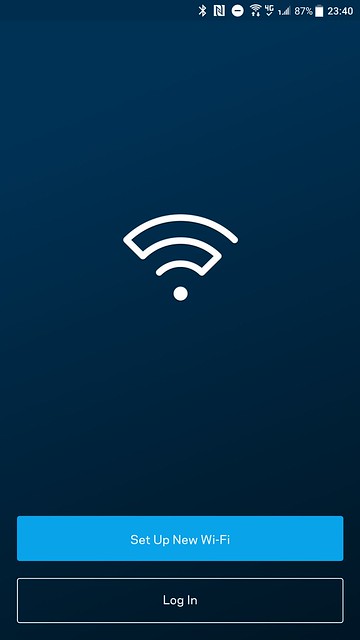
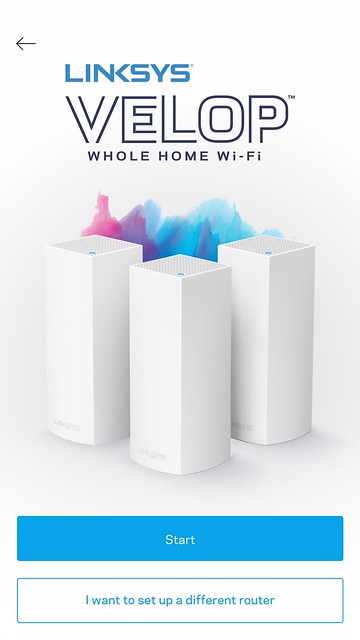
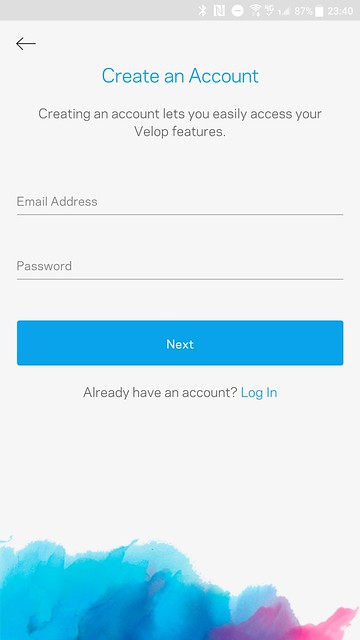
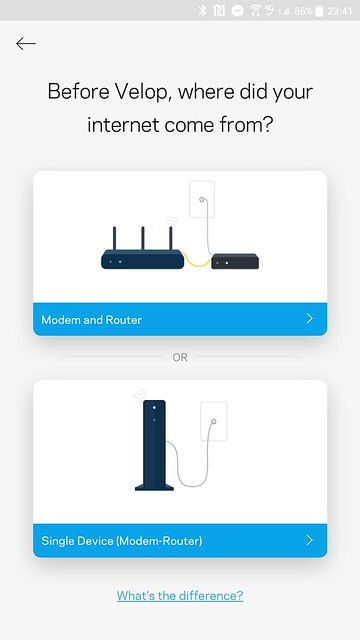
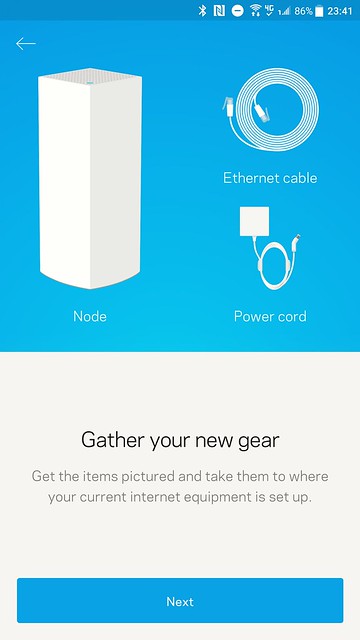
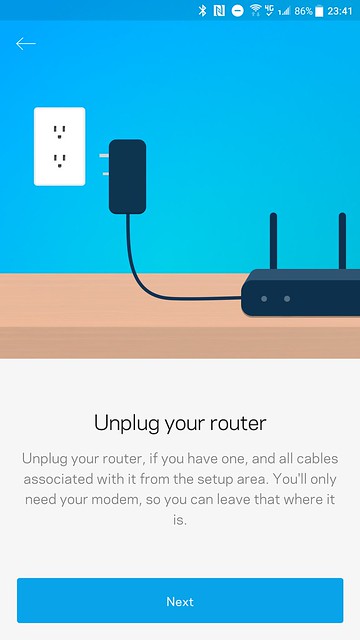
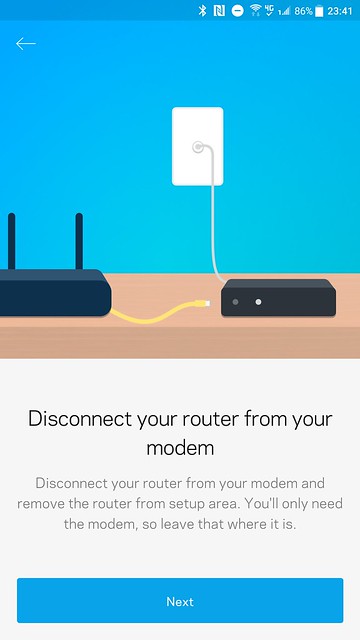
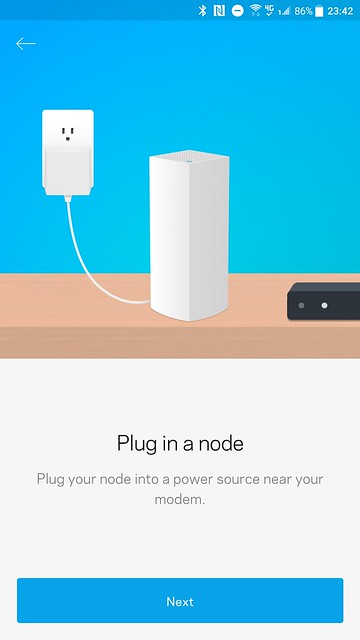
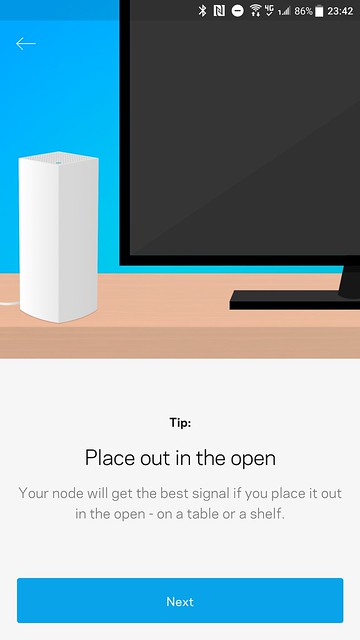
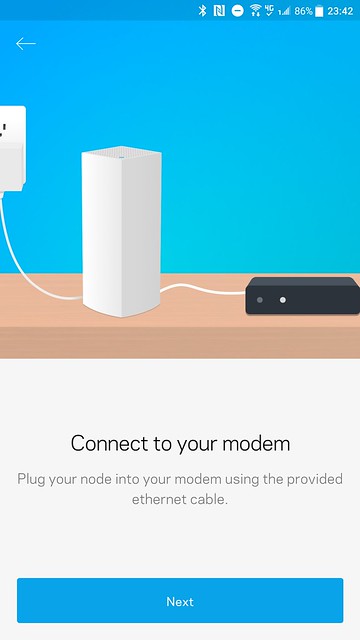
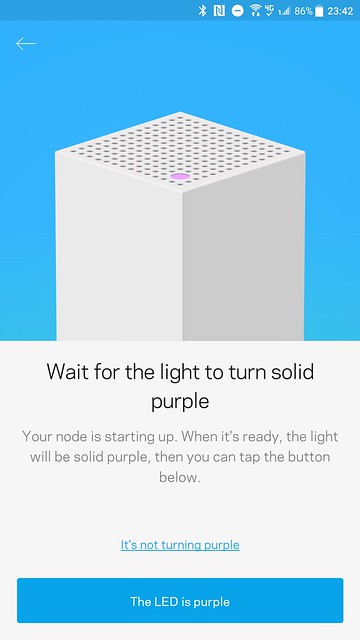
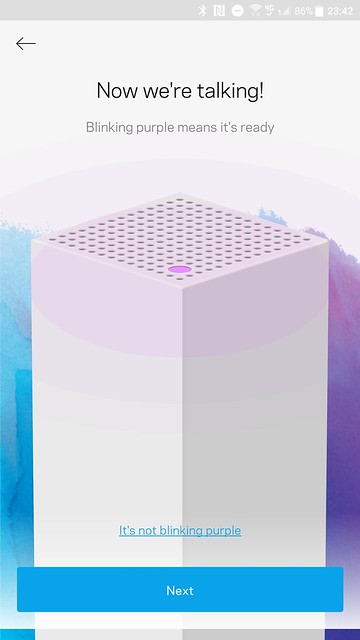
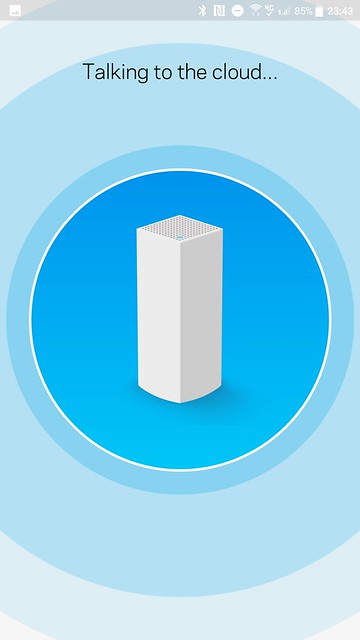
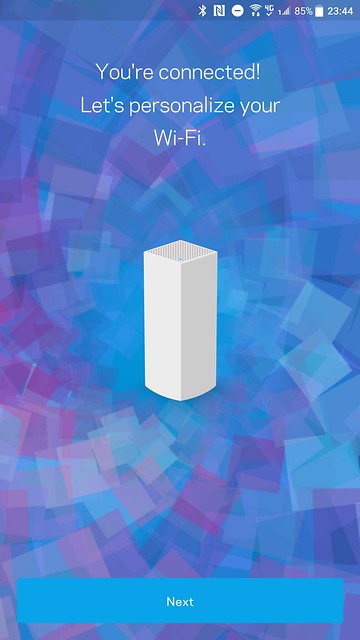
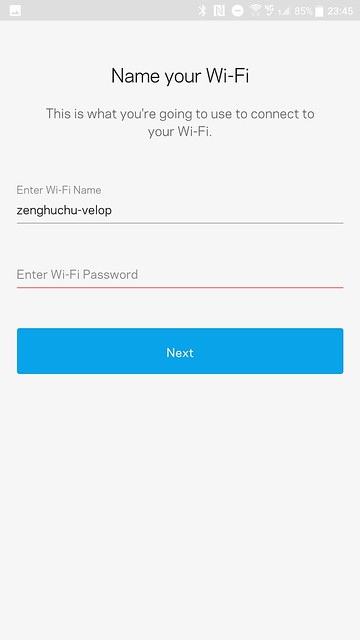
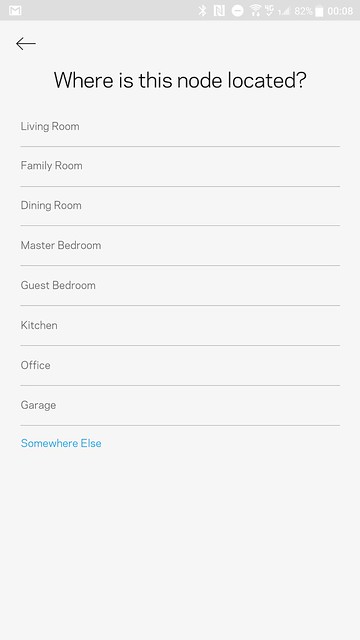
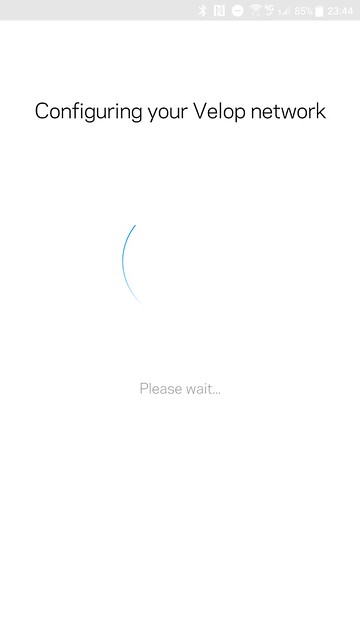
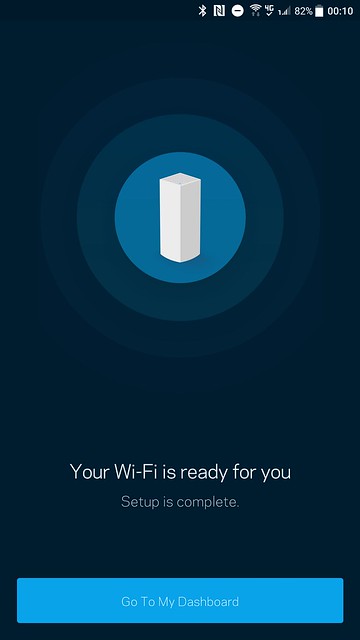
After setting up the primary node, I tried using my iPhone 7 Plus again to set up the secondary node, and surprisingly, it works!
Though, I encountered the same problem when I tried to indicate my node location. I have to repeat that same process a few times.
So was it a problem with my phone’s Bluetooth? I am not sure.
Linksys App
I find the app very slow especially networking performance. When I launch the app, it takes 10 seconds to log in and about 30 seconds to load the next screen that lists down all my Linksys Smart Wi-Fi routers.
Because I have reviewed about seven Linksys Smart Wi-Fi routers, it tries to get the status of each of them although most of them are no longer in use. There is also no way to remove those routers from my Linksys account.
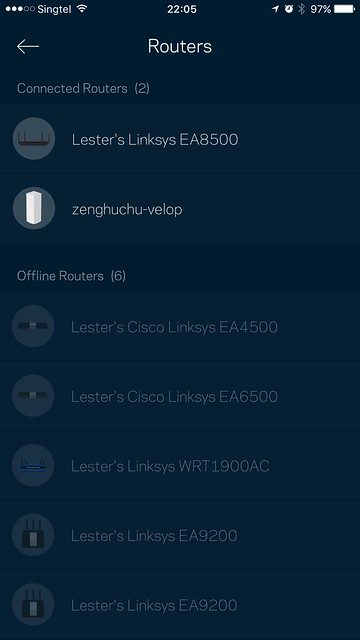
My case might be an edge case, but I want to highlight to Linksys that they should provide us a way to remove routers that we are no longer using.
Apart from the initial slow loading, the app is pretty straightforward to use, and the UI is visually appealing.
You can configure the following features in the app itself as there is no web based administration.
- Wi-Fi
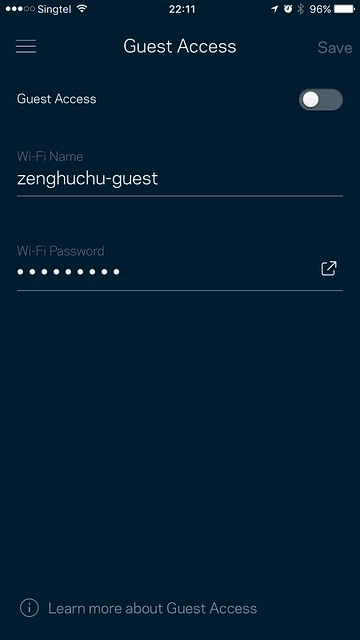
- Guest Wi-Fi
- Speed Test
- Parental Controls
- Device Prioritization (up to three devices)
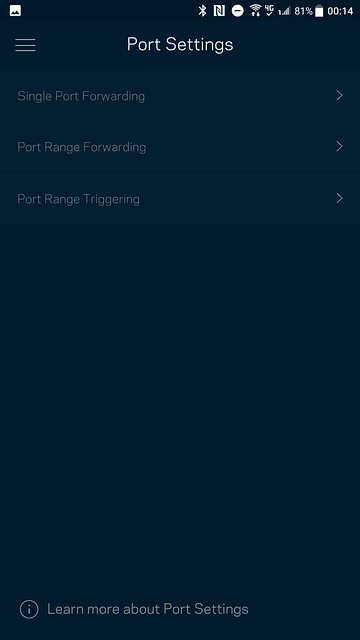
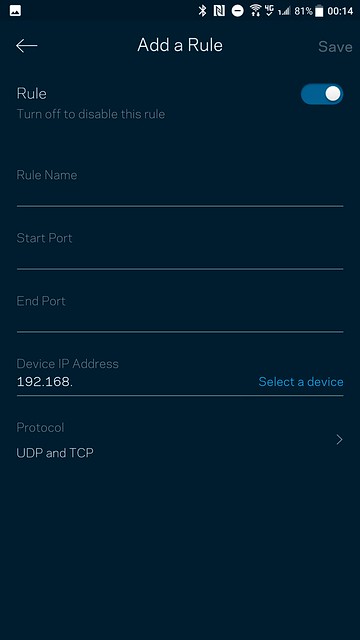
- Port Forwarding (Single Port Forwarding, Port Range Forwarding, Port Range Triggering)
- MAC Filters
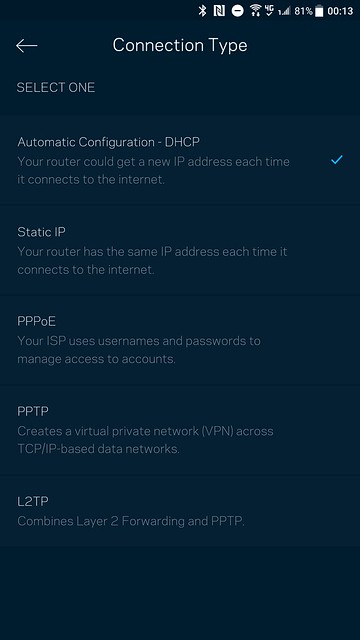
- Internet Settings (DHCP, Static, PPPoE, PPTP, L2TP)
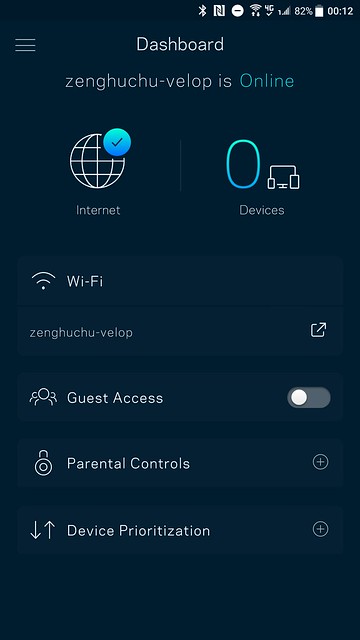
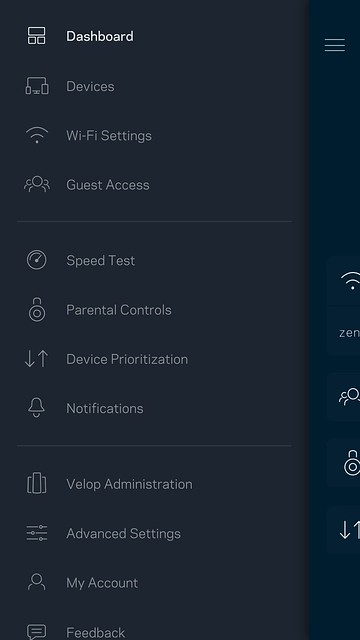
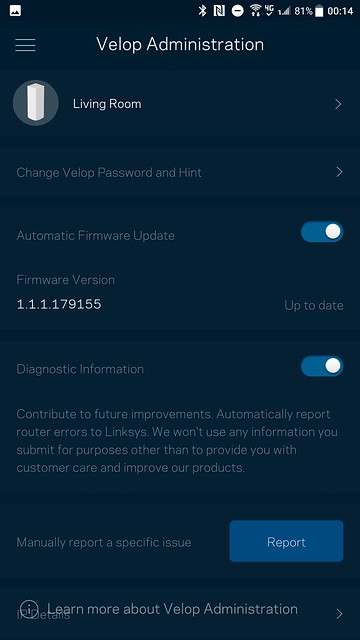
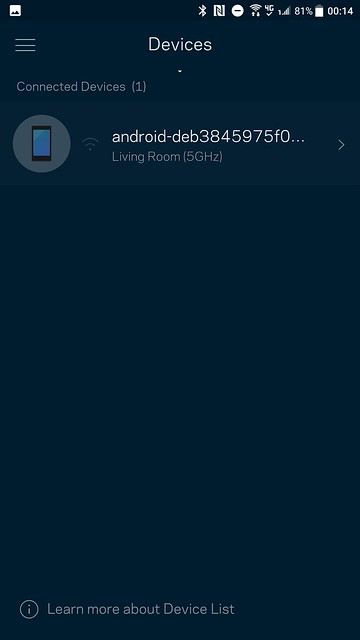
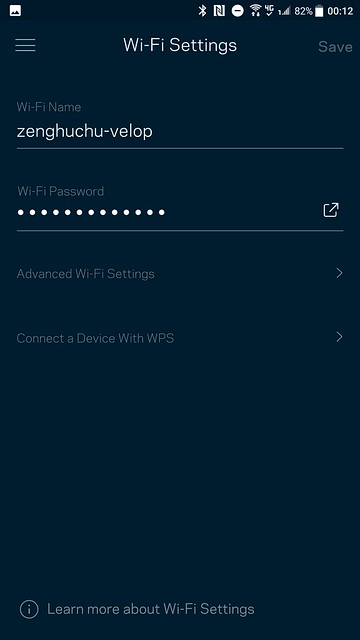
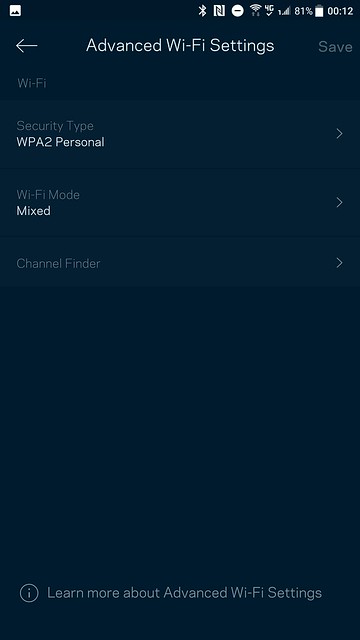

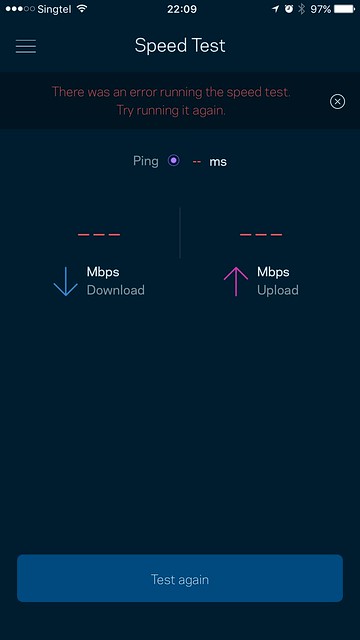
I can’t get the Speed Test to work no matter how many times I tried. It always says “There was an error running the speed test.”
Coverage
Linksys did mention that each Velop node can cover up to 2,000sqft, so a 3-pack Velop can cover up to 6,000sqft. But as with network specs, all those are just theoretical and will never happen in real life.
As mentioned earlier, a more realistic coverage for a 3-pack Velop is between 2,000sqft to 4,000sqft. That is because you have to take into consideration concrete walls, locations of power sockets, and your primary Internet port.
My house is a new 5-room BTO flat which is 113sqm or 1,216sqft in size.
Like all homes in Singapore, we have a lot of concrete walls that interfere with wi-fi signals. And because of that, I think a 3-pack Velop is good for 4 (90sqm/969sqft) or 5-room BTOs (113sqm/1,216sqft). A 2-pack Velop is good for 3-room BTOs (65sqm/700sqft). And any size below that, it is better to get a high-end router as you don’t get any benefits from using wi-fi mesh system.
I placed one Velop at the Internet point (near the Ramp), one in Bedroom 2, and the last one in Main Bedroom.
Here is Velop heat map for the 2.4GHz and 5.0GHz band:
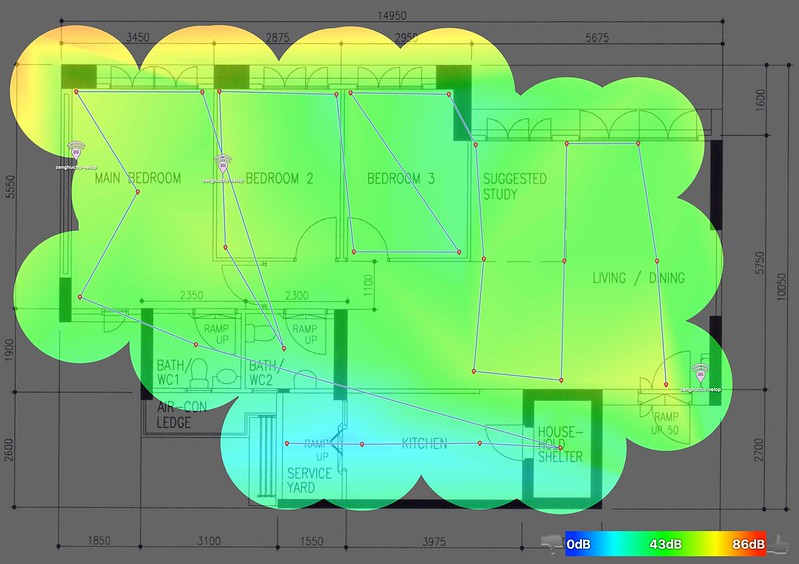
From the 2.4GHz heat map, you can see a bluish area from the service yard all the way to the household shelter.

From the 5.0GHz heat map, you can see bluish areas around both washrooms (WC1 and WC2) and the service yard.
Here is eero heat map for the 2.4GHz and 5.0GHz band in comparison:
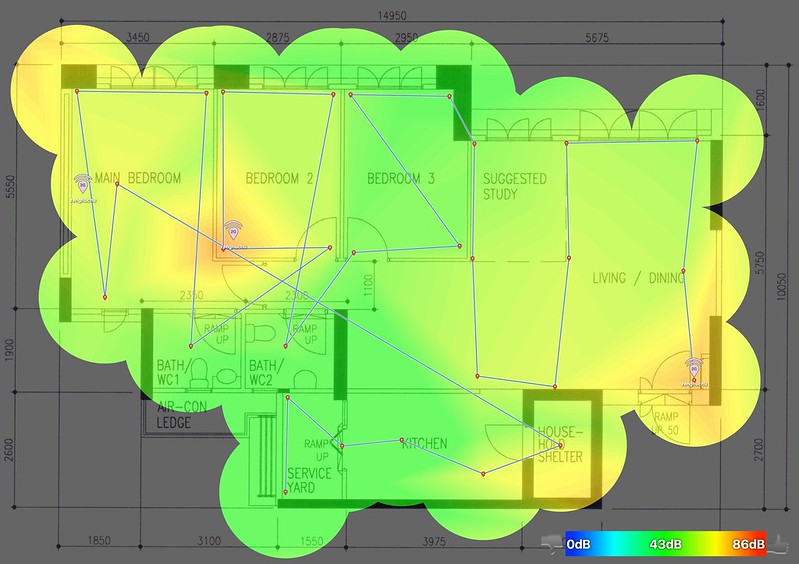
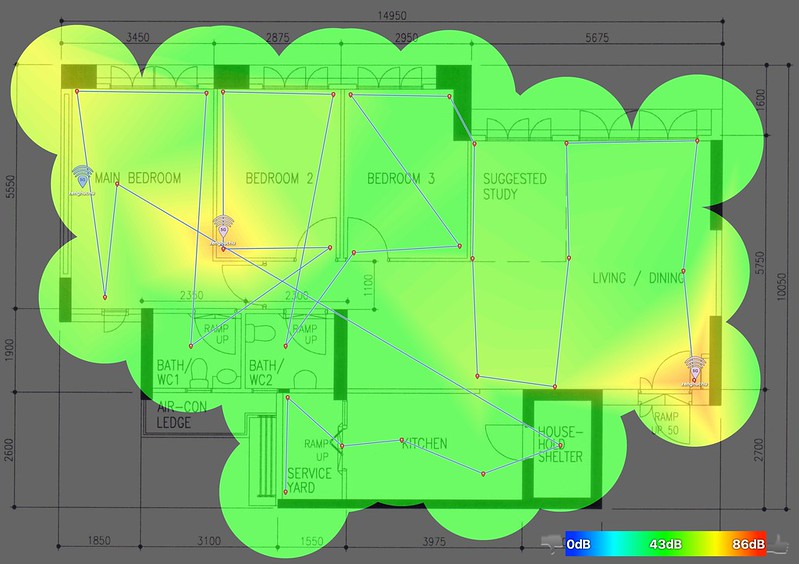
I find the coverage not as good as eero. From both eero heat maps, you can see there is no bluish area.
At first, I thought it might be due to beamforming, but both eero and Velop supports beamforming.
I can find better locations to place the nodes, but my nodes are placed in areas where there is a wired Ethernet connection, so the choices are limited.
Speed
Before I did the speed test, I was already expecting the Velop to outperform my eero since regarding specs the Velop is much better.
So no surprises here, Velop did beat eero by a huge margin when it comes to downloading speed. 490Mbps vs. 350Mbps on the eero. For uploading speed, Velop obtains 205Mbps vs. 164Mbps on the eero.
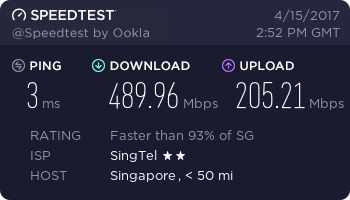
| Location | Velop | eero | EA9500 (5GHz) | RT-AC88U (5GHz) |
|---|---|---|---|---|
| Living Room (Download) | 489.96Mbps | 349.69Mbps | 444.58Mbps | 465.90Mbps |
| Living Room (Upload) | 205.21Mbps | 164.14Mbps | 282.32Mbps | 377.75Mbps |
Amazon Alexa
If you are using Linksys Smart Wi-Fi routers (which includes Velop), it supports integration with Amazon Alexa. You can install the Linksys Alexa Skill by searching for “Linksys” in the Skills section in your Alexa app on iOS or Android.
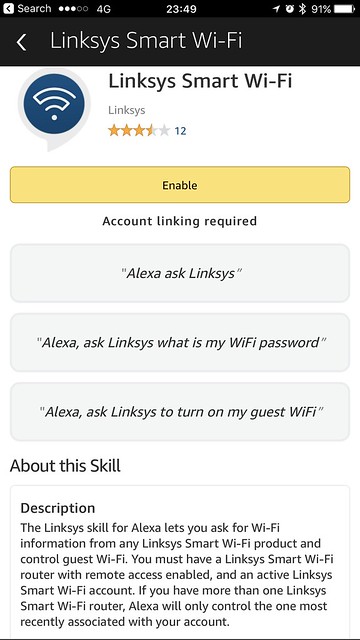
The features are a little limited right now. You can only ask Alexa to turn on or off your guest wi-fi and ask Alexa for your wi-fi password.
Unfortunately, I can’t get the integration to work. When I tried to ask Alexa what is my wi-fi password, it gives me a message saying “Your Linksys Skill has received the request, but there is an error processing it.”.
I am pretty sure it is due to a timeout because of the number of Linksys Smart Wi-Fi routers I have.
Alexa has a hard timeout set to 10 seconds, and if it takes 30 seconds to list down my routers in Linksys app, Alexa will also take 30 seconds to process it and hence the time out.
Conlusion
Linksys Velop is targetted at users who just want a single wi-fi network for the whole home without the need for cumbersome configuration of using a router and a range extender.
Velop will work for simple home users where most of the devices at their home are wireless. Normally, it is something that you will get and put in your parents’ place.
When there is a mixture of wired and wireless devices, it is better for a high-end router like Linksys EA9500 or Asus RT-AC5300 to take control of the network and let Velop manage the wireless access only. If you fall into this category of users, Velop will not be suitable until they roll out Bridge Mode support.
A 3-pack Linksys Velop retails for S$719 and accordingly, to Linksys survey, people are willing to pay a premium for good wi-fi speed and coverage without the need for complex configurations.
I am a techie, and hence I am willing to pay that amount for a seamless wi-fi with good speed and coverage within my home. As they say, fast and reliable wi-fi is now an essential human need.
But many of my friends already find high-end routers too expensive at S$400. So I am not sure whether people are willing to fork out S$749 which is almost two times the price for Velop.
But one thing for sure, wi-fi mesh systems are here to stay, and the prices will not be dropping anytime soon.
We will see more of these systems in 2017 from different manufacturers. Among all the upcoming wi-fi mesh systems like the Asus HiveSpot, TP-Link Deco M5, and D-Link’s CovrLinksys, I think Velop is the best among the lot when it comes to specs and execution.
However, if you compare it with eero and Google Wifi which are not available in Singapore, they are giving Velop a run for their money, not in terms of specs but the execution.
